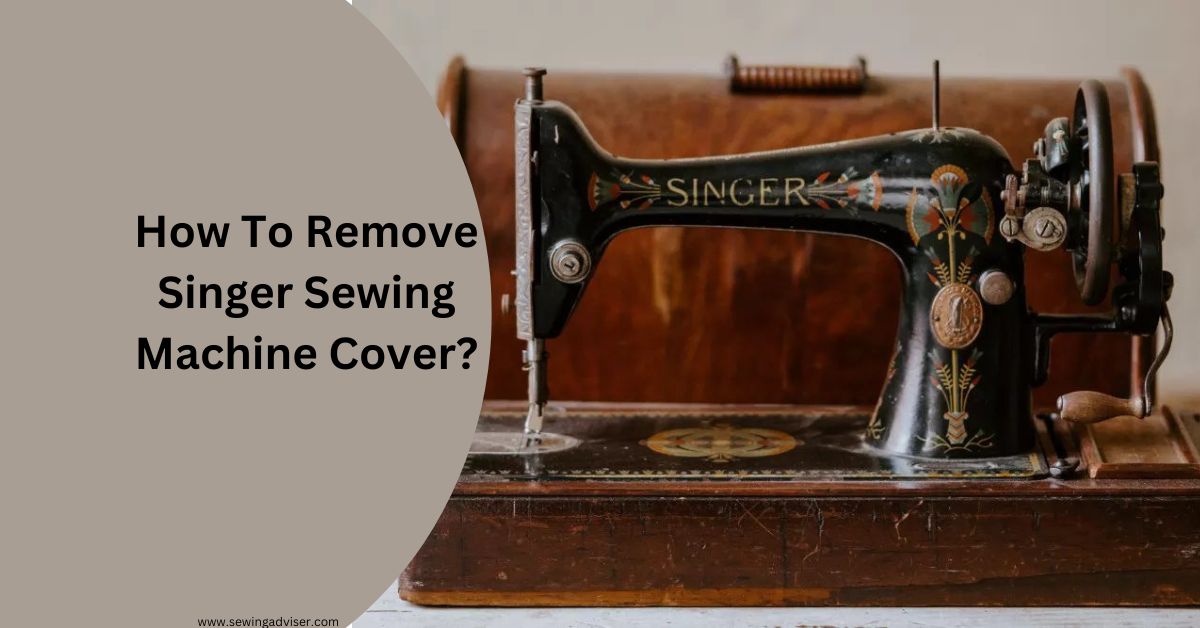
How To Remove Singer Sewing Machine Cover Easily: 2024 Hack
If you’re anything like me, you’re probably always looking for ways to make life a little bit easier. That’s why I’m always on the lookout for tips and tricks that can help me save time and effort.
One task that I often have to do is remove the Singer sewing machine cover. And let’s be honest, it’s not the most fun task in the world. But I’ve figured out a few tricks that how to remove singer sewing machine cover in one minute.
The Singer sewing machine cover is easy to remove. There are two latches on the back of the machine, one on each side. Simply unscrew the two latches and the cover will come off.
So, keep in mind all of your needs here I come up with a detailed guide about it.
How To Remove Singer Sewing Machine Cover
We will provide step-by-step instructions on how to remove the cover of a Singer sewing machine
Preparation
Before you start removing the cover of your Singer sewing machine, you need to make sure that you have the necessary tools. Here is a list of tools that you will need:
- Screwdriver (typically Phillips head)
- Needle-nose pliers
- Soft-bristled brush
- Cloth
Once you have gathered all the necessary tools, you can proceed with the removal of the cover. Follow these steps to remove the cover of your Singer sewing machine:
Step 1: Unplug the Machine
Before you start any work on your sewing machine, it is important to unplug it. This ensures your safety and prevents any accidental activation of the machine during the process.
Step 2: Remove the Screws
Locate the screws that secure the cover to the sewing machine. They are usually located on the back or sides of the machine. Use a screwdriver to remove the screws. Place the screws in a safe place so that you do not lose them.
Step 3: Disconnect the Wires
Once the screws are removed, you need to disconnect any wires that are attached to the cover.
There are typically two wires that are connected to the light inside the machine. Use needle-nose pliers to remove the wires from their sockets.
Step 4: Remove the Cover
Once the screws and wires are removed, you can lift the cover off the machine. It may take some effort to remove the cover, but it should come off easily.
Step 5: Clean the Cover
Use a soft-bristled brush to remove any dust or debris from the cover. You can also use a cloth to wipe down the cover.
Step 6: Reassemble the Machine
To reassemble the sewing machine, simply follow the steps in reverse order. Place the cover back onto the machine, reconnect the wires, and screw the cover back into place.
Once you have finished, plug in the machine and test it to ensure that it is working properly.
Related Article: Why Does My Sewing Machine Keep Jamming
What To Do If The Singer Sewing Machine Cover Is Stuck
If your Singer sewing machine cover is stuck, there are a few things you can try to free it.
First, try gently tapping the cover with a rubber mallet or other soft object. This may loosen the cover enough to allow you to remove it.
If that doesn’t work, you can try heating the cover with a hair dryer or other heat source.
Be careful not to overheat the plastic, as this could damage the machine. Once the cover is warmed up, try tapping it again with a soft object.
If neither of these methods works, you may need to cut the cover off. Use a sharp knife or scissors to carefully cut around the perimeter of the cover. Be sure not to damage the machine itself in the process.
How To Clean The Singer Sewing Machine Cover
If your sewing machine cover is looking a little worse for wear, you can clean it using a few simple household items. All you need is some warm water, a moderate cleaning soap, and a soft cloth.
Start by removing any lint or debris from the surface of the cover. Then, wet a soft cloth with warm water and mild soap.
Gently wipe down the cover, being careful not to saturate it. Rinse the material as needed to avoid leaving any cleaning soap residue behind.
Once you’ve wiped down the entire surface, use a dry soft cloth to remove any remaining moisture. Allow the cover to air dry completely before using your sewing machine again.
How To Store The Singer Sewing Machine Cover
If you’re not using your Singer sewing machine, it’s important to store it properly to keep it in good condition.
This includes covering the machine with a dust cover. You can purchase a dust cover specifically for your Singer model, or you can make your own.
How To Protect The Singer Sewing Machine Cover
Proper care of your Singer sewing machine cover will keep it looking new and prolong its life. Here are a few suggestions on how to protect your investment:
- Remove the cover when transporting or storing the machine, to avoid damage.
- Keep the cover clean by dusting it regularly with a soft, dry cloth.
- If the cover becomes stained, spot clean with a mild soap and water solution. Avoid harsh chemicals or abrasives, which could damage the fabric.
- For added protection, you can purchase a clear vinyl cover to place over the Singer sewing machine cover. This will help guard against spills and stains.
How To Troubleshoot The Singer Sewing Machine Cover
If your Singer sewing machine cover is not working properly, there are a few things you can do to troubleshoot the problem.
First, take a look to ensure that the power cord is plugged in correctly and that the machine becomes on.
Next, check to see if the needle is threaded properly and that the Bobbin case is in place. If these things are all in order, then the problem may be with the tension of the needle.
To adjust the tension, turn the tension knob on the back of the machine clockwise or counterclockwise until you find the sweet spot.
How To Maintain The Singer Sewing Machine Cover
In order to keep your Singer sewing machine in good working condition, it is important to maintain the Singer sewing machine cover. Here are some guidelines on how to do this:
- Clean the Singer sewing machine and cover it regularly with a soft cloth.
- Avoid using harsh cleaning agents on the cover as this can damage it.
- If the cover becomes stained, you can spot-clean it with a mild soap and water solution.
By following these simple tips, you can keep your Singer sewing machine cover looking like new and help extend the life of your sewing machine.
What Is An Old Singer Sewing Machine Worth?
The value of an old Singer sewing machine can vary greatly depending on its age, condition, and rarity.
Some older Singer sewing machines can be worth thousands of dollars to collectors, while others may be worth only a few hundred dollars or less.
In general, the older and rare a Singer sewing machine is, the more valuable it may be. However, the condition of the machine is also important, as a machine in good working order will typically be worth more than one that is not in good condition.
How Do You Take a Case off a Sewing Machine?
To remove the case of a sewing machine, first, unplug the machine and lay it on its side. Locate the screws or clips that hold the case in place and use a screwdriver or pliers to loosen and remove them.
Carefully lift the case off the machine, being mindful not to damage any internal components. If the case is stuck or difficult to remove, consult the machine’s manual for specific instructions.
How Do You Remove a Singer Needle Plate Cover?
To remove the needle plate cover on a Singer sewing machine, first, unplug the machine and lay it on its side.
Locate the screws that hold the needle plate in place and use a screwdriver to loosen and remove them.
Carefully lift the needle plate off the machine, taking care not to drop or damage it.
How Do You Remove An Interior Panel?
To remove an interior panel, you will typically need to locate and remove any fasteners that are holding it in place.
These fasteners can include screws, bolts, clips, or other types of hardware. You may need to use a screwdriver, pliers, or a similar tool to remove them.
Once all of the fasteners have been removed, you should be able to gently lift the panel away from the surface it is attached to.
Be careful not to force the panel or bend it, as this could cause damage. In some cases, you may need to gently pry the panel away from the surface using a flat tool, such as a putty knife or a plastic trim removal tool.
Final Words
And that’s it! To recap how to remove Singer sewing machine cover, it’s normally removing the screws on the top and bottom covers. However, usually seek advice from your model’s manual.
We hope you discovered a lot from this article. Let us recognize any questions if you have any.
FAQS
Can I remove the cover of my Singer sewing machine without any tools?
No, you will need a screwdriver and needle-nose pliers to remove the cover.
Is it safe to remove the cover of my Singer sewing machine?
Yes, it is safe as long as you unplug the machine before starting.
How often should I remove the cover of my Singer sewing machine for cleaning?
It is recommended that you clean your sewing machine cover at least once a month, or more frequently if you use it heavily.
Is it difficult to Remove the Singer Sewing Machine Cover?
It can be a bit tricky to remove the cover, especially if you haven’t done it before, but with the right tools and some patience, it should be fairly straightforward.
Where are the Screws located on the machine?
The screws are usually located on the bottom of the machine and/or on the sides near the base.


24 Comments