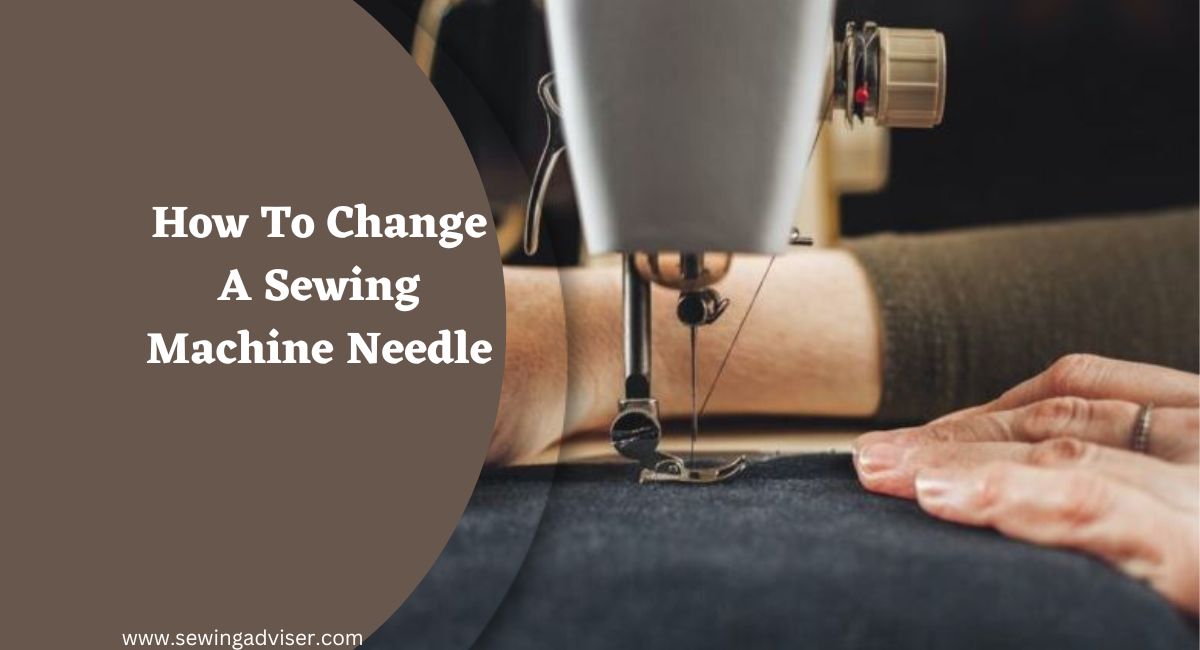
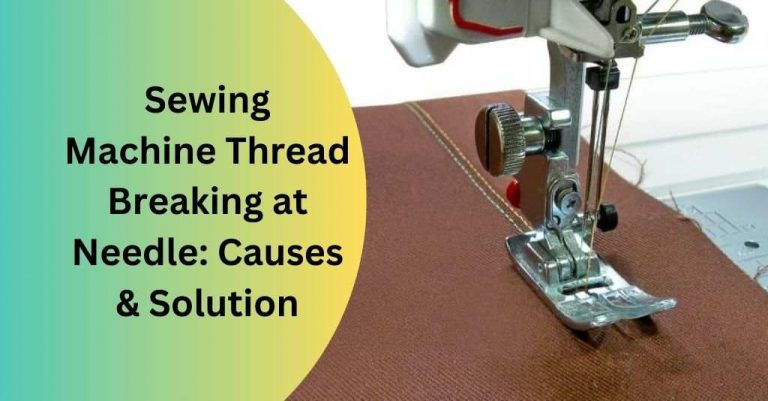
How To Change A Sewing Machine Needle In 58 Seconds-Sew Hacks
There are multiple occasions where you will have to change your sewing machine needle.
I regularly switch out my needle based on the fabric type I’m using, and at least once a week when starting new projects.
After you have learned the basics of operating a sewing machine, one of the next skills to master is needle threading.
So, let’s get started with this beginner sewing tutorial!
Not only do I have several sewing machines, but I also have pictures depicting how to change the needle on a Singer machine and how to change the needle on a Brother machine.
If you don’t have one of these two brands of machines, don’t worry! The process is similar to most modern sewing machines.
How To Change A Sewing Machine Needle In 58 Seconds
Here are the 9 simple steps for how to change a sewing machine needle fastly.
- Be sure to turn your sewing machine off before starting.
- (Optional) If you’re using a paper or fabric that is delicate, raise the presser foot and place it underneath.
- Lower your presser foot.
- Set the needle to the highest position.
- Unscrew the needle by turning it to the left (counterclockwise).
- Remove the old needle.
- Please check the new needle.
- Push the new needle into the machine, with the flat side facing towards the back, until it is all of the ways in.
- To tighten the needle screw, turn it clockwise (away from you).
When to Change A Sewing Machine Needle
Figuring out when to replace the needle on your sewing machine can be tricky. Here are a few signs that it’s time for a new one:
If your needle is any combination of broken, bent, or dull, it’s time for a new one.
If you’re substantially altering the weight of thread or switching fabric types (for example, from a knit to a woven), you might need to switch out your sewing machine needle.
Sewers recommend changing your needle after every project, but I think that’s too often. An old needle can cause problems with your stitching though, so be careful!
If you’re experiencing issues while sewing, it might be time to switch to a new needle.
If you’re facing any of the following issues, it may be time to replace your sewing machine needle.
- When threads break while sewing.
- There are large holes in the fabric.
- If you hear a popping sound when puncturing the fabric, it means that the tip is either dull or damaged.
- Imperfect stitches.
Related Article: Why Does My Sewing Machine Unthreading?
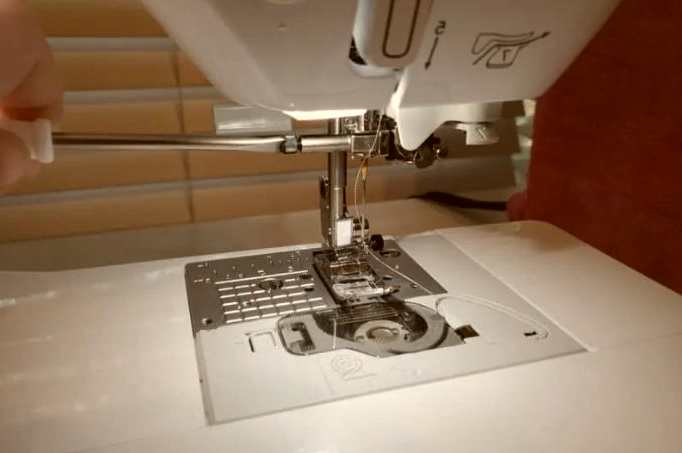
How to change the needle on a sewing machine
Remove the Old Sewing Machine Needle
When you start, please ensure that your sewing machine is turned off for safety purposes.
Before you can take out the sewing machine needle, first use a screwdriver to loosen the needle clamp screw. The needle clamp is what secures the needle in place. There should be a tiny screw near this needle clamp.
The process of loosening the screw on your sewing machine varies depending on the model.

To loosen the needle clamp screw on my Singer heavy-duty sewing machine, unscrew it towards you (or turn it counterclockwise). Hold onto the needle with your other hand in case it falls out.
On my Brother sewing machine, the needle clamp screw is much harder to unscrew by hand if it has been tightened.
I use my flat-head screwdriver to turn the screw counterclockwise and loosen the needle.
You don’t need to fully loosen the needle clamp screw just make it loose enough so the needle can move.
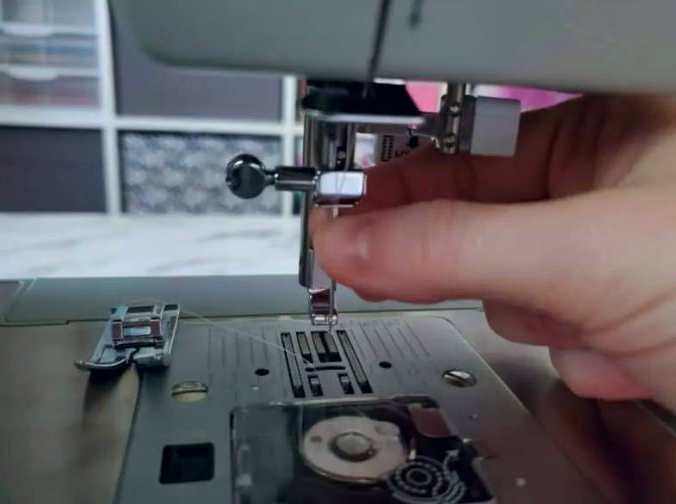
Now, using your thumb and pointer finger, grab the needle and remove it from the clamp at an angle.
For easy needle removal, sometimes it’s best to take off the presser foot first. This will give you more space to maneuver and remove the needle by pivoting it out with your fingers.
Make sure to note which way the flat side of the needle is facing as you remove it from the sewing machine. For all machines I have ever used, the flat part always faces towards the back.
Put the Needle in the Sewing Machine
There are three ways to properly install a new sewing machine needle, which I will walk you through now.
A. Insert The Needle Using Your Fingers
Use your fingers to rotate the needle until it is pointing upwards, then insert it into the screw clamp.
Ensure that you have pushed the needle up as high as it will go so that the flat part is facing backward.
Finally, screw the back piece clockwise until it is as tight as possible. If the needle is wobbly, it will create a variety of issues!
B. Insert Using a Clearance Plate
The second way to insert the needle is by using a clearance plate. This is a really useful additional item that came with my Singer 4452 sewing machine.
First, align the needle with the clearance plate. You should be able to tell which side is for the flat side and which is for the round side by looking at the plate. The needle should fit snugly into the plate.
Facing the needle in the correct direction, move the clearance plate into the sewing space. Take hold of the top of the needle and insert it into the clamp. The explanation with pictures is above.
Push the needle upwards into the clamp until only a small portion is visible.
After you’ve pushed the needle into the clamp as far as it will go, turn the needle clamp screw clockwise to tighten.
C. Insert With a Dritz Needle Inserter and Threader
If you don’t want to use the clearance plate, Dritz has needle inserters and threaders (or Singer has just needle inserters) that can help you put the needle in.
To use these, first, insert the needle into the inserter. Then, use the inserter to push the needle into the needle clamp.
If you use the Dritz device, you can also get bonus points because you can use it to thread the sewing machine needle by yourself!
Setting Up to Sew After a Needle Change
Before you continue, be sure the presser foot is securely attached.
First, rethread your sewing machine needle. Be sure to pass the thread through the eye of the needle from front to back.
Gently tug the thread lying underneath the presser foot towards the back of the machine. If your sewing machine has an automatic needle threader, ensure your needle is in the correct position for the needle threader to pass through its eye. If not, simply thread your sewing machine’s needle by hand.
Related Article: How To Thread An Embroidery Needle
How to replace a sewing machine needle
If you want to avoid breaking your sewing machine needle, be sure to insert it properly. In the long run, this will save you time and energy.
Tools Needed:
- needle
- screwdriver
- needle insertion tool
Step By Step Guide: How to replace a sewing machine needle
Removing the Needle
- Use the needle insertion tool to insert the needle into the small hole.
- Place the needle above the pull tab.
- To start, take your screwdriver and unscrew the needle.
- Finalize the process by loosening the screw using your hand until it falls out.
Replacing the Needle
- On your needle insertion tool, find the hole and insert your needle there.
- Make it as successful as possible.
- To tighten the space, use your finger to press down.
- Turn your screwdriver a quarter clockwise.
- Take the tool out of your needle.

27 Comments