
How To Apply New Decals To Singer Sewing Machines-2024 Guide
If you’re the proud owner of a Singer sewing machine, then you know that it’s a valuable tool in your sewing arsenal. But over time, the decals on your machine can start to wear and peel off.
This can make your machine look old and outdated. Luckily, there is an easy way to fix this!
In this blog post, we will show you how to apply new decals to Singer sewing machines in just a few simple steps.
So don’t wait any longer follow these instructions and give your machine a fresh new look!
- First, you will need to purchase new decals. You can find these online or at your local sewing supply store.
- Next, clean the surface of your machine where the decals will be applied. This is important because you want to make sure that the decals will adhere properly.
- Once the surface is clean, carefully apply the new decals. Make sure that they are aligned correctly and that there are no air bubbles.
- Finally, allow the decals to dry completely before using your machine again.
What Is A Machine Decals?
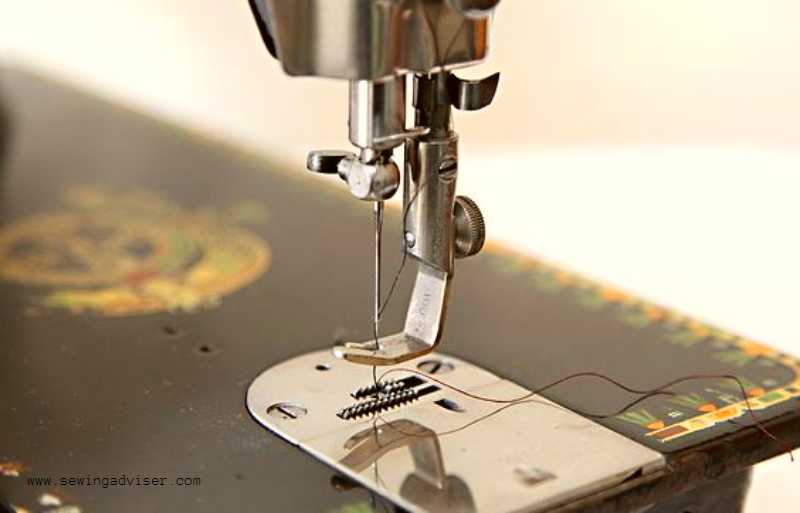
A machine decal is a design that is applied to the body of a sewing machine. These decals are usually made out of paper or vinyl, and they can be printed with any design or pattern.
They are typically applied to the front and sides of a sewing machine, but they can also be placed on the back or bottom. Decals can help to personalize your machine and make it look more stylish.
Why Do Decals Come Off?
There are several reasons why decals may come off of a sewing machine. The most common reason is age over time, the adhesive that holds the decal in place can become weak and lose its grip.
Another reason for peeling decals is exposure to sunlight or heat. This can cause the adhesive to break down and the decal to come loose.
Additionally, certain cleaning chemicals can also degrade the adhesive and cause the decal to peel off.
How To Apply New Decals To Singer Sewing Machines
Now that you know why decals come off of sewing machines, let’s talk about how to apply new ones!
The process is quite simple, and it only requires a few supplies that you probably already have around your house. Here’s what you’ll need:
- A clean, dry cloth
- A mild soap or detergent
- Water
- A soft-bristled brush (such as an old toothbrush)
- New machine decals
- A sharp knife or scissors
- Tweezers
- A ruler or measuring tape
Step By Step Guide:
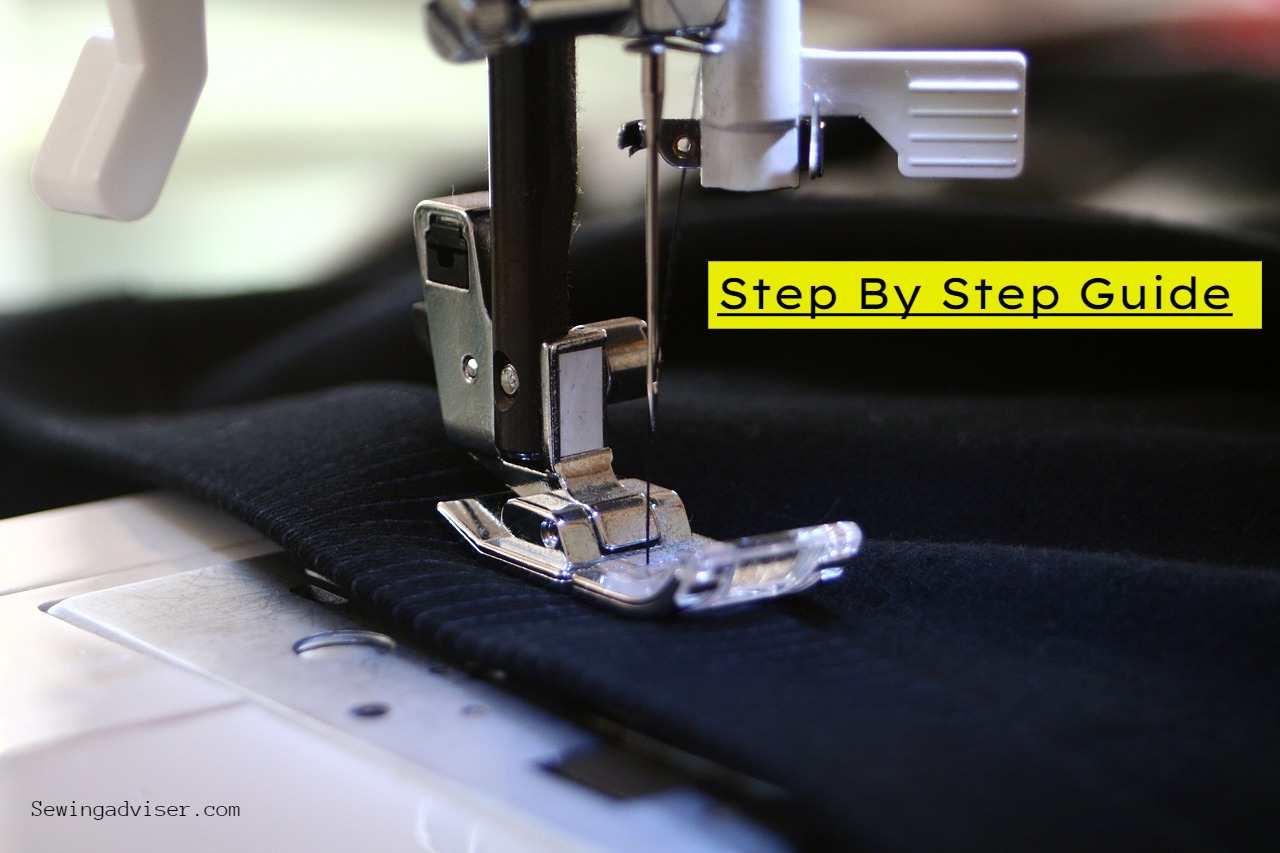
These simple and easy steps will help you to apply the new decals to your Singer sewing machine in minimum time.
Prepare The Surface
Before you apply the new decals, you’ll need to make sure that the surface of your machine is clean and free of dirt and debris. Start by wiping down the area with a dry cloth.
If there is any stubborn dirt or grime, mix a solution of mild soap and water. Use a soft-bristled brush to gently scrub away any build-up. Once you’re finished, rinse the area with clean water and dry it completely with a towel.
Apply The Decals
Now it’s time to apply the decals! Begin by peeling off the backing paper from one of the decals.
If the decal is very large, you may need to use a sharp knife or scissors to cut it into smaller pieces.
Once the backing paper is removed, carefully place the decal on the surface of your machine.
Use tweezers to adjust the position of the decal as needed. Repeat this process with the remaining decals.
Seal The Decals
To help ensure that your new decals stay in place, you’ll need to seal them. You can do this by applying a thin layer of clear nail polish or decoupage glue over the top of each one. Allow the sealant to dry completely before using your sewing machine again.
There you have it! These simple steps will help you apply new decals to your Singer sewing machine. Give it a try and see how great your machine looks with its fresh new look!
Conclusion: How To Apply New Decals To Singer Sewing Machines
Singer sewing machines are a popular choice for many sewers. Whether you are just beginning to sew or have been sewing for years, chances are you own or have used a Singer machine at some point in your life.
If you have recently purchased a new Singer machine, or if your old Singer machine needs a little TLC, then this guide is for you!
In this guide, we will show you how to apply new decals to your Singer sewing machine.
We will also provide tips on how to keep your decals looking their best for as long as possible. Thanks for reading and happy sewing!
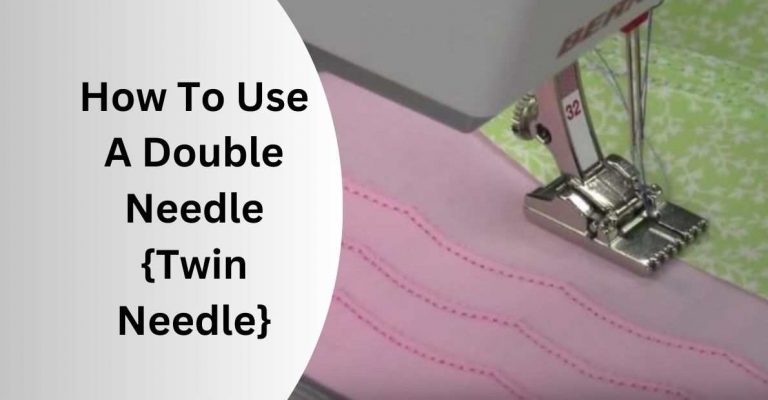
Also, Read this If you want to change your sewing machine needle
FAQs How To Apply New Decals To Singer Sewing Machines
What materials do I need to apply new decals to my Singer sewing machine?
You will need a few basic materials such as rubbing alcohol, a soft cloth, a pair of tweezers, a toothpick or other pointed object, and the new decals you want to apply.
How do I prepare my sewing machine before applying the new decals?
Before applying new decals, clean the surface of the sewing machine with rubbing alcohol and a soft cloth to remove any dirt or debris. Make sure the surface is dry before applying the new decals.
How do I remove the old decals from my Singer sewing machine?
Use a toothpick or other pointed object to gently lift the old decals from the surface of the sewing machine. Be careful not to scratch or damage the surface of the machine. You can also use rubbing alcohol to help soften and remove the decals.
How do I apply the new decals to my Singer sewing machine?
Carefully peel the new decals from their backing paper, using tweezers to handle them. Position the decal on the surface of the sewing machine and use a toothpick or other pointed object to carefully press the decal into place. Smooth out any bubbles or wrinkles in the decal using a soft cloth.
Can I apply the new decals over the old ones?
It is not recommended to apply new decals over old ones, as this can cause the decals to peel or bubble. It is best to remove the old decals before applying the new ones.
How can I ensure that the new decals will stay in place on my Singer sewing machine?
After applying the new decals, avoid touching or rubbing the surface of the sewing machine for at least 24 hours to allow the decals to fully adhere. You can also apply a clear coat of lacquer or varnish over the decals to help protect them from wear and tear.


3 Comments