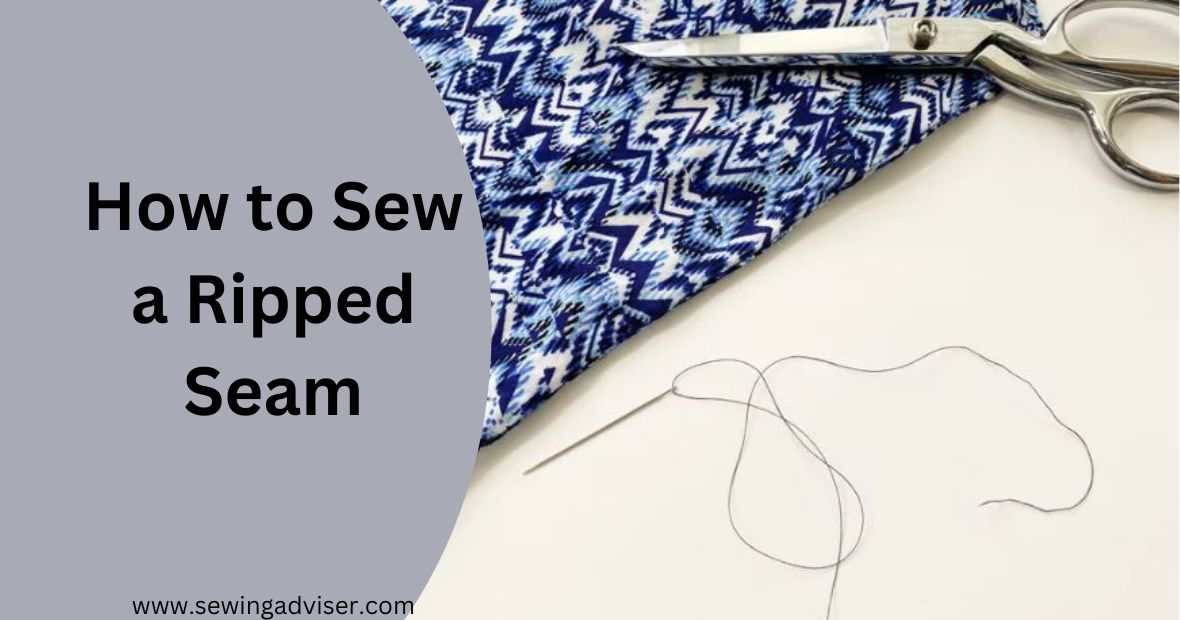
Learn How To Sew A Ripped Seam: Quick & Easy Seam Repair
Dealing with a ripped seam can be a real headache, but fear not!
In this guide on “How To Sew A Ripped Seam”, I’ll walk you through the simple steps to fix that pesky tear in no time.
Whether it’s a seam on your favorite shirt or a beloved pair of pants, I’ve got you covered.
With just a few basic tools and some handy techniques, you’ll be stitching like a pro in no time. So let’s roll up our sleeves and get that seam back in shape!
How to Sew a Ripped Seam: Step-by-Step Guide
By following the steps given below, you can easily sew a ripped seam at home.
Materials You’ll Need
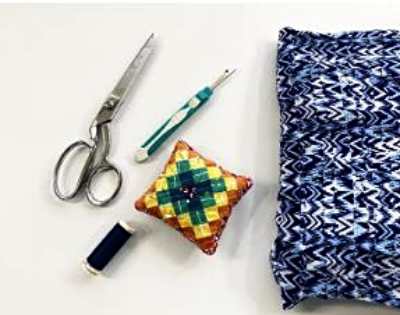
To sew a ripped seam, you’ll need a few basic materials:
- Needle
- Thread
- Scissors
- Pins
- Iron
- Ironing board
Step 1: Pin the Seam
The first step in sewing a ripped seam is to pin the seam together. Use straight pins to hold the two sides of the rip in place. Make sure that the fabric is aligned properly, and that the edges of the seam meet perfectly.
Tip
If the fabric is frayed, use scissors to trim the frayed edges before pinning. This will make the sewing process easier and help you achieve a clean finish.
Step 2: Thread the Needle
Thread the needle with a double strand of thread. Make sure to tie a knot at the end of the thread to prevent it from slipping through the fabric.
Tip:
Choose a thread color that matches the fabric. If you can’t find a perfect match, choose a slightly darker color than the fabric.
Step 3: Sew the Seam
Start sewing the seam from the inside of the garment. Insert the needle through the fabric, close to the seam’s edge, and bring it back up through the fabric. Keep sewing, making small stitches along the seam, until you reach the end of the rip.
Tip:
If the fabric is thick or difficult to sew, use a thimble to push the needle through the fabric. This will protect your fingers and help you sew with more precision.
Step 4: Tie the Knot
Once you’ve sewn the entire seam, tie a knot at the end of the thread. Make sure the knot is tight and close to the fabric.
Step 5: Iron the Seam
Finally, iron the seam to give it a clean and polished finish. Set your iron to the appropriate temperature for the fabric and press the seam gently.
Tip:
If the fabric is delicate or prone to wrinkling, use a pressing cloth between the iron and the fabric.
Types of Rips
To sew a rip, the first step is to identify the type of rip you are dealing with. There are four main types of rips: clean rips, open rips, clothing seam rips, and other seam rips.
Clean Rips: Clean rips are long or L-shaped rips where the fabric is still intact, so the edges can be brought back together.
To sew a clean rip, start by aligning the edges of the rip and pinning them together. Then, use a needle and thread to sew the edges together using a whip stitch or a backstitch.
Open Rips: Open rips are tears where the fabric is missing and requires a patch. For example, a large tear in the knee or elbow of clothing where the fabric is shredded.
To repair an open rip, you will need to cut a patch from a piece of fabric that matches the torn item. Pin the patch to the back of the rip, then use a needle and thread to sew the patch in place using a whip stitch or a backstitch.
Clothing seam rips: Clothing seam rips are rips in clothing where the stitching from a seam has come undone. These items can be turned inside out to repair the seam.
To repair a clothing seam rip, turn the garment inside out and locate the torn seam. Then, use a needle and thread to sew the seam back together using a whip stitch or a backstitch.
Other seam rips: Other seam rips are rips in the seam of items that can’t be turned inside out to repair, such as toys or beanbags.
To repair another seam rip, locate the torn seam and use a needle and thread to sew the seam back together using a whip stitch or a backstitch. You may need to use a small opening to access the seam, then sew it closed once the repair is complete.
By identifying the type of rip you are dealing with, you can choose the appropriate repair method to restore your item to its original state.
How to Sew a Rip That is Clean Cut:
To sew a clean-cut rip, you can follow these steps:
- IRON: Start by placing the garment on an ironing board and pressing the fabric to flatten the area that is torn. This will help to keep the fabric in place while you sew.
- NEATEN: Trim any loose threads from the edges of the rip, but be careful not to make the hole any larger. This will make it easier to align the edges and sew the rip closed.
- REINFORCE: For a rip that is not in a seam, you can reinforce the area by using iron-on interfacing or a strip of fabric. Place the interfacing or fabric strip on the back of the rip and pin it in place. This will help to close the edges together and prevent further fraying.
- STITCH: Now it’s time to sew the rip closed. You can use a needle and thread to hand stitch the edges together using a whip stitch or a backstitch. Alternatively, you can use a sewing machine to stitch over the rip. Be sure to backstitch at the beginning and end of the seam to secure the stitches.
By following these steps, you can easily repair a clean-cut rip in your garment and make it wearable again.
How to Sew a Rip In a Clothing Seam
Sewing a rip in a clothing seam is a simple task that can be done with a few basic tools and some sewing skills. Here are some simple steps you can follow:
- Assess the damage: Look closely at the rip and determine how big it is. If it is a small rip, you may be able to sew it up quickly. If it is a larger tear, you may need to patch the area before sewing it.
- Gather your materials: You will need a needle, thread that matches the color of the garment, and a pair of scissors.
- Thread the needle: Tie a knot at the end of the thread and thread the needle.
- Position the garment: Turn the garment inside out so that the seam with the rip is facing you.
- Pin the rip: Pin the rip together to hold it in place while you sew. Be sure to align the edges of the rip as closely as possible.
- Sew the rip: Using a straight stitch, sew along the rip, making sure to catch both sides of the seam. Stitch about 1/4 inch from the edge of the rip.
- Knot the thread: When you reach the end of the rip, tie a knot in the thread and trim off the excess.
- Finish up: Turn the garment right-side out and inspect your work. If the repair looks good, press the seam with an iron to help it lay flat.
And that’s it! With these steps, you should be able to successfully sew a rip in a clothing seam.
How to Sew a Rip by Hand
Sewing a rip by hand is a simple process that can help you extend the life of your clothes. Here are the steps to follow:
- Gather the necessary materials: You will need a needle, thread that matches the color of your garment, scissors, and a thimble (optional).
- Thread the needle: Cut a length of thread, and thread it through the eye of the needle. Make a knot at the end of the thread.
- Position the fabric: Turn your garment inside out and position the rip so that the edges of the tear are lined up as closely as possible.
- Begin sewing: Starting from the inside of the garment, insert the needle through the fabric just above the tear. Pull the thread all the way through until the knot is snug against the fabric.
- Make small stitches: Make small stitches across the rip, working from one side to the other. Each stitch should be about 1/4 inch long. Be sure to keep the thread taut, but not so tight that it puckers the fabric.
- Tie off the thread: When you reach the end of the rip, tie a knot on the inside of the garment and cut the excess thread.
- Check your work: Turn the garment right-side out and inspect your work. If there are any loose threads, cut them with scissors.
With these simple steps, you can easily sew a rip by hand and prolong the life of your clothes.
Conclusion
I hope to know that you are well aware of how to sew a ripped seam. In conclusion, Sewing a ripped seam is a simple and useful skill that can save you money and keep your clothes looking great. With a few basic materials and some patience, you can fix your ripped seams like a pro.
Remember to take your time and be careful when sewing to ensure a clean and professional finish. With practice, you’ll be able to sew ripped seams quickly and easily. So, next time you have a tear in your favorite clothing item, don’t toss it out – sew it up and give it a new life!
FAQs: How To Sew A Ripped Seam
Can I sew a ripped seam by hand or do I need a sewing machine?
You can sew a ripped seam by hand using a needle and thread. A sewing machine is not necessary but can make the process faster and more efficient.
How long does it take to sew a ripped seam?
The time it takes to sew a ripped seam depends on the size of the rip and your sewing skills. A small rip can take as little as 10 minutes to sew, while a larger rip may take up to an hour.
Can I use fabric glue instead of sewing a ripped seam?
Fabric glue can be a quick fix for a ripped seam, but it’s not as effective or long-lasting as sewing. Fabric glue may also leave a visible residue on the fabric, which can ruin the garment’s appearance.
How do I prevent seams from ripping in the future?
To prevent seams from ripping, reinforce them with an extra row of stitches. You can also use a stronger thread or add a piece of fusible interfacing to the seam area.
What if I don’t have the materials needed to sew a ripped seam?
If you don’t have the materials needed to sew a ripped seam, you can purchase a pre-made patch or take the garment to a tailor or seamstress for repair.

7 Comments