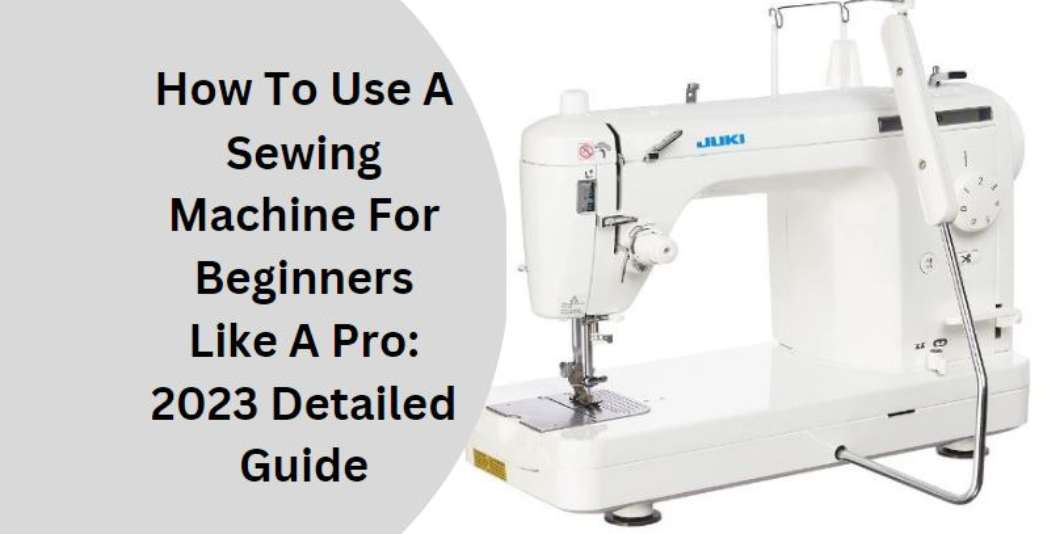
How To Use A Sewing Machine For Beginners: 2024 Easy Guide
Welcome to the ultimate guide on how to use a sewing machine for beginners. If you’ve recently acquired a sewing machine and are eager to dive into the world of sewing, this article is for you.
Sewing can be a rewarding and fulfilling hobby, allowing you to create beautiful garments, home decor, and more.
However, it can be intimidating for beginners. Fear not! We will walk you through the process step-by-step, explaining everything in simple terms, so you can start your sewing adventure with ease and confidence.
How to Use a Sewing Machine for Beginners
In this section, we’ll delve into the specifics of using a sewing machine as a beginner. We’ll cover setting up the machine, understanding its parts, threading the machine, and sewing your first stitches.
Understanding Your Sewing Machine
Before you dive into sewing, it’s essential to familiarize yourself with the various parts of your sewing machine. Each component plays a vital role in the overall functionality of the machine. Let’s break down the main parts:
a) The Needle
The needle is one of the most critical components of a sewing machine. It’s responsible for creating stitches by puncturing the fabric. Ensure you have the correct needle type and size for the fabric you’re using.
b) The Bobbin
The bobbin holds the lower thread and works in conjunction with the upper thread to create stitches. Make sure you wind the bobbin correctly and insert it into the machine following the manufacturer’s instructions.
c) The Presser Foot
The presser foot holds the fabric in place while you sew. Different presser feet are available for various sewing techniques, such as zippers, buttons, and quilting. Change the presser foot as needed to achieve your desired results.
d) The Stitch Selector
Modern sewing machines come with various built-in stitches. The stitch selector allows you to choose the type of stitch you want to use for your project. Experiment with different stitches to explore their versatility.
2. Threading the Machine
Threading a sewing machine is a crucial step in the setup process. Follow these steps to ensure your machine is correctly threaded:
Step 1: Raise the Needle
Before threading, always raise the needle to its highest position. This prevents any potential accidents and ensures smooth threading.
Step 2: Wind the Bobbin
Start by winding the bobbin with the thread color of your choice. Place the bobbin on the designated spindle and follow the threading path outlined in the machine’s manual.
Step 3: Thread the Upper Thread
Next, thread the upper thread through the machine following the threading guide provided. Typically, the thread should go through a series of guides, tension discs, and the needle.
Step 4: Pull the Bobbin Thread Up
After threading the upper thread, turn the handwheel towards you to lower and raise the needle, which will catch the bobbin thread. Pull the bobbin thread up through the needle plate.
Step 5: Test the Threads
To ensure both threads are correctly threaded, hold onto the upper thread and turn the handwheel towards you. The needle should go down and then back up, catching the bobbin thread and creating a loop.
3. Choosing the Right Fabric and Thread
Selecting suitable fabric and thread is crucial to achieving excellent sewing results. As a beginner, opt for medium-weight woven fabrics like cotton or linen. These are more manageable and forgiving for practicing your sewing skills.
For thread, always choose a high-quality polyester thread that matches the color of your fabric. Polyester threads are durable and less likely to break during sewing.
4. Adjusting Stitch Settings
Sewing machines offer adjustable stitch settings, allowing you to customize your stitches based on the project’s requirements. Here are some essential stitch settings you might need to adjust:
a) Stitch Length
The stitch length determines how close or far apart your stitches will be. For most regular sewing, a medium stitch length is suitable, but you can adjust it for specific tasks.
b) Stitch Width
If your sewing machine has the capability to create zigzag stitches or other decorative stitches, the stitch width controls the width of these patterns.
c) Tension Control
Proper tension ensures balanced stitches. Experiment with different fabric types and thread thicknesses to find the ideal tension for your project.
5. Practice Basic Sewing Techniques
Now that you have a good understanding of your sewing machine’s components and how to thread it, it’s time to practice some basic sewing techniques:
Straight Stitching
Start with straight stitching on scrap fabric. Keep the fabric’s edge aligned with the guide on the presser foot to maintain a consistent seam allowance.
Zigzag Stitch
The zigzag stitch is excellent for preventing fabric fraying and adding decorative touches.
- Select the zigzag stitch on your machine.
- Practice sewing on a piece of scrap fabric, adjusting the stitch width and length to see the different effects.
Backstitching
Backstitching reinforces the beginning and end of your seams, preventing them from unraveling.
- Sew a few stitches forward.
- Press the reverse button or lever to sew over the same stitches in reverse.
- Sew forward again to continue your seam.
Topstitching
Topstitching adds a professional touch to your projects and secures seams in place.
- Select a straight stitch and adjust the stitch length as desired.
- Sew along the edges of your fabric or seamlines.
Pivot Turns
Pivot turns are essential for sewing corners and curves. Practice creating smooth and precise turns to achieve professional-looking results.
Sewing on Buttons
Experiment with the buttonhole foot and learn how to sew buttons onto fabric securely.
6. Taking Care of Your Sewing Machine
To keep your sewing machine in top shape, remember these maintenance tips:
- Regularly clean the machine to remove lint and dust buildup.
- Oil the machine as per the manufacturer’s instructions to keep it running smoothly.
- Use the appropriate needles for different fabrics to avoid damage.
- Store your sewing machine in a dry and dust-free environment when not in use.
7. Sewing in Reverse and Locking Stitches
Learn how to sew in reverse to secure your stitches at the beginning and end of a seam. Additionally, discover how to lock stitches to prevent them from unraveling. These techniques are essential for professional-looking finishes.
8. Sewing Seam Allowances and Hemming
Understanding seam allowances and how to measure and sew them accurately is vital in sewing. Practice sewing seams with the correct allowances. Additionally, learn how to hem fabric edges neatly for a polished look.
9. Adding Decorative Stitches and Patterns
Once you’ve mastered the basics, experiment with decorative stitches and patterns. These stitches can add flair to your projects and showcase your creativity.
10. Troubleshooting Common Issues
As a beginner, you may encounter some common sewing machine issues. Here are some troubleshooting tips:
a) Thread Tension Problems
If you notice loose or tight stitches, adjust the tension dial. Loosen the tension for loose stitches and tighten it for tight stitches.
b) Skipping Stitches
Skipping stitches may occur due to a dull needle or using the wrong type of needle for the fabric. Change the needle and ensure it’s appropriate for your project.
c) Jammed Bobbin
A jammed bobbin can disrupt your sewing process. Always thread the bobbin correctly and ensure it sits snugly in its casing.
Can I learn to use a sewing machine if I have no prior experience in sewing?
Absolutely! Using a sewing machine is a skill that can be learned by anyone, even if you have no prior sewing experience. With practice and patience, you’ll be sewing like a pro in no time.
Do I need a high-end sewing machine as a beginner?
Not necessarily. For a beginner, a basic sewing machine with essential features will suffice. Focus on learning the fundamentals, and as your skills grow, you can consider upgrading to a more advanced model.
How long does it take to become proficient with a sewing machine?
The learning curve varies from person to person, but with consistent practice, you can become proficient within a few weeks. Remember, practice makes perfect!
What type of fabric is best for beginners to practice on?
Start with medium-weight cotton fabric. It’s easy to work with and forgiving, making it ideal for beginners to practice their sewing skills.
Can I sew thick or multiple layers of fabric with a beginner’s sewing machine?
Yes, you can sew thicker fabrics or multiple layers, but it may require adjusting the machine’s settings and using the appropriate needle and thread. Be mindful of your machine’s capabilities.
How can I maintain my sewing machine for optimal performance?
Regular maintenance is essential for keeping your sewing machine in top shape. Clean the machine after each project, change needles regularly, and have it professionally serviced annually.
Conclusion
Congratulations on completing this comprehensive guide on how to use a sewing machine for beginners! You’ve learned how to set up the machine, thread it, and sew various stitches with confidence.
Remember, sewing is a skill that improves with practice, so keep honing your abilities by taking on exciting new projects. With time and dedication, you’ll master the art of sewing and create amazing garments and crafts.
So, what are you waiting for? Let your creativity flow and happy sewing!
FAQs: How to Use a Sewing Machine for Beginners
Is it difficult to learn how to use a sewing machine?
Not at all! With patience and practice, anyone can learn to use a sewing machine effectively.
What type of sewing machine is best for beginners?
Mechanical sewing machines are user-friendly and ideal for beginners.
How do I avoid breaking needles while sewing?
Ensure you’re using the correct needle for your fabric and avoid pulling the fabric through forcefully.
Can I use regular thread for sewing, or do I need special thread?
It’s best to use high-quality, all-purpose thread for most sewing projects.


11 Comments