How To Thread An Embroidery Needle: 2024 Complete Guide
Do you want to know how to thread an embroidery needle like a pro? This complete guide is for you!
In this tutorial, we will walk you through the process step-by-step. We will also provide some tips and tricks that will make the process easier for you.
So, whether you are a beginner or an experienced sewer, this guide is for you! Let’s get started!
The Easiest Way To Thread A Needle For Embroidery?
Needle threaders make life significantly easier and are the best way to get your needle threaded. If you’re utilizing a needle threader, insert the wire through the back end of the needle’s eye and pull it towards the front.
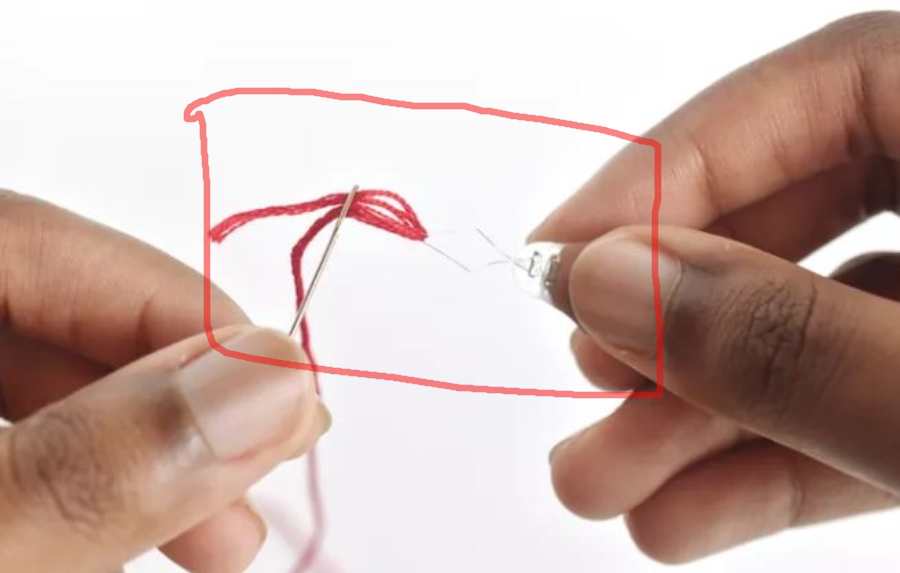
Afterward, take the wire and hook it over the top of your desired thread. Now all that is left to do is tug on both ends until the Wire feeds entirely through the needle’s eye!
To thread a needle without using a needle threader, simply pass the thread through the eye of the needle from front to back.
First, take the thread and wrap it around your finger. Pull it through until there is a loop, then insert the needle. Once the needle is in the loop, pull it tight and cut off any excess thread.
Your embroidery needle is now usable!
Materials needed:
- Embroidery Thread
- embroidery Needle
- Needle Threader
- Scissor
Instructions
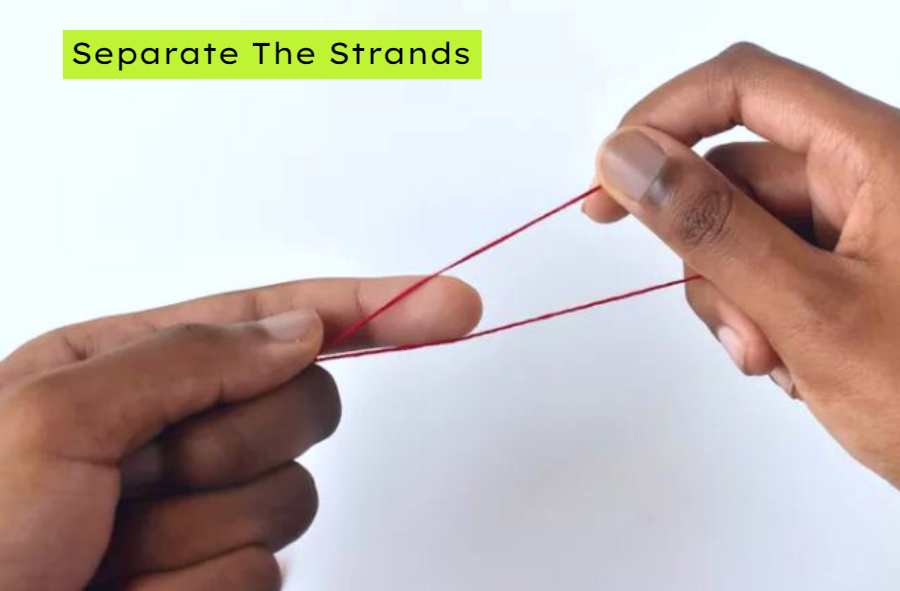
Separate the Strands
The most popular type of embroidery thread is stranded cotton embroidery floss, which is made up of six strands. By separating the strands, you can control the thickness of your stitches.
Incorporating all six strands together creates beautiful, bold lines; it also allows you to jump right into the stitching process.
Just be cautious of using a needle that is too small and fabric with a tighter weave (like Aida cloth), as this combination can pucker the fabric and result in frustration.
Cut a piece of stranded cotton floss that’s about the length of your forearm (or slightly longer) to prepare it for use.
To make it simpler to see the single strands, tap the end. After that, begin separating as many strands as required, holding the split end in one hand. With your other hand slowly draw a finger down the thread until it is sufficiently divided.
When you finish, let the thread untwist on its own so that it’s ready to use.
How To Thread An Embroidery Needle Without A Needle Threader
When people see me threading a needle, they often ask if I’m moistening the embroidery floss first. It’s not ideal to do this because it can be gross when you’re trying to help someone else thread their needle.
Additionally, there’s no guarantee of success when you use this method- so you might end up with a soggy mess!
The other way to guide the thread through the needle is by squinting, but that’s more challenging. Rather than holding the embroidery floss like this where you can see the end of the thread, adjust your grip.
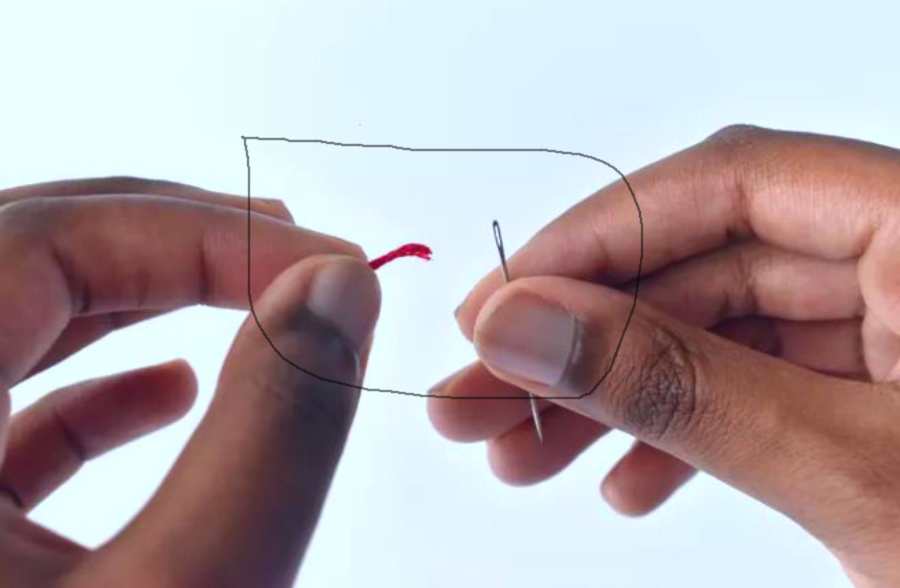
Make sure to use freshly snipped thread that has been cut with sharp embroidery scissors. This will help ensure your stitches are clean and precise.
Pinch the end of the thread between your thumb and index finger on your dominant hand until it’s taut.
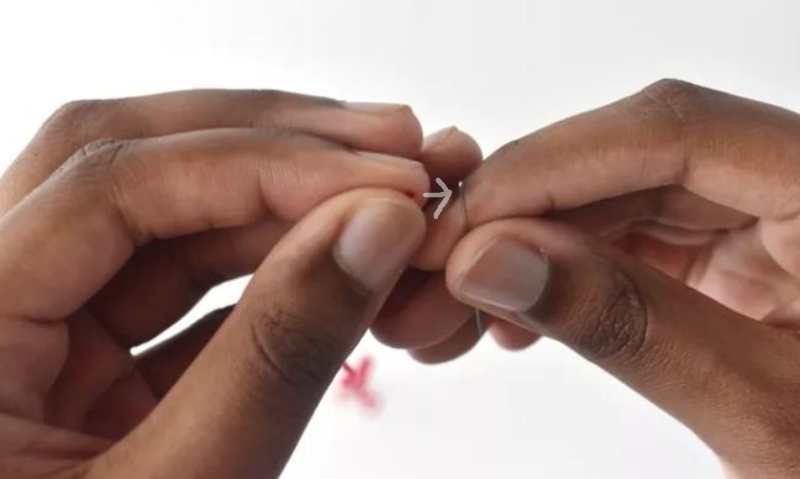
To thread a needle, start by holding the eye of the needle and the end of the embroidery floss. Then, push the floss through the needle while squeezing it.
Completely pull the thread through the needle.
With a bit of practice, you’ll get the hang of it. The key is to keep the needle eye facing the right direction. If your vision isn’t great or you’re still struggling, try coating the end with beeswax or thread conditioner.
Related Article: How to Sharpen Sewing Pins – The Ultimate Guide
How To Thread An Embroidery Needle With A Threader
A needle threader is a small, beneficial tool for those encountering difficulty hand-threading a needle.
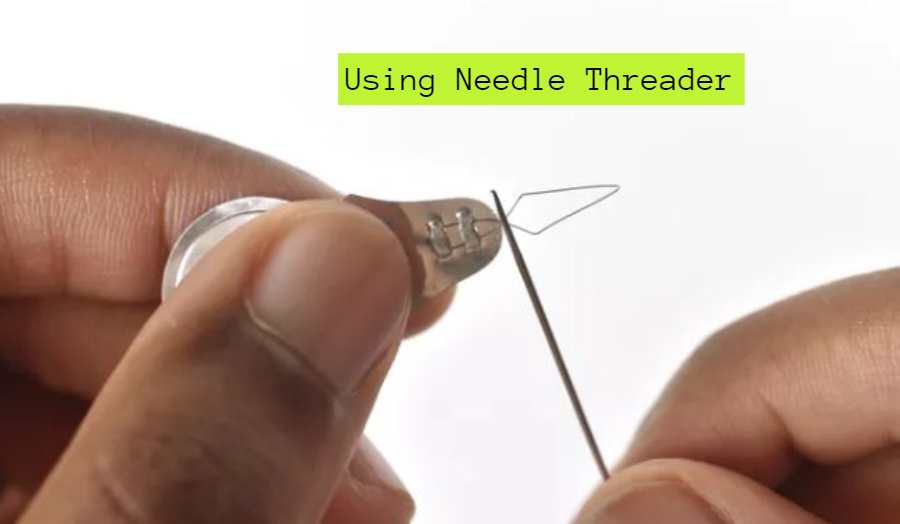
It’s composed of a hook at one metal or plastic wire end, with the other inserted into the eye of the needle. The hook catches and pulls the thread through said eye.
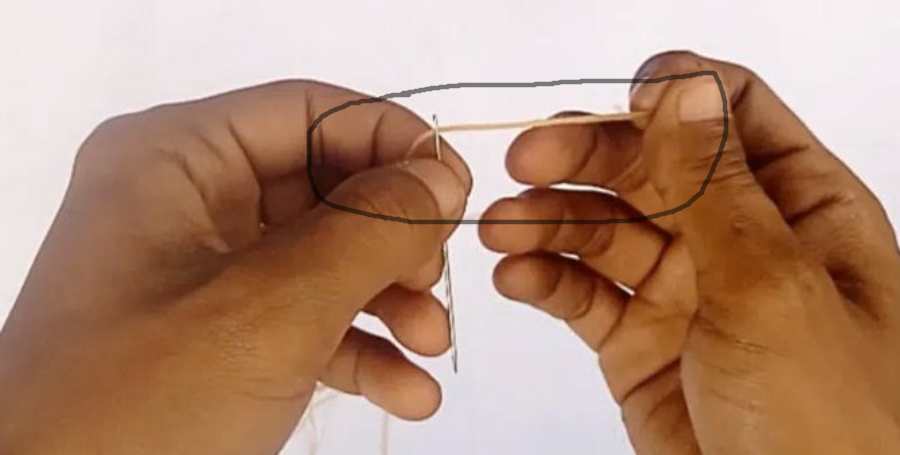
If you’re using a basic needle threader, insert the loop or hook through the eye of the needle.
String your needle by threading the embroidery floss through the loop or hook on the needle threader.
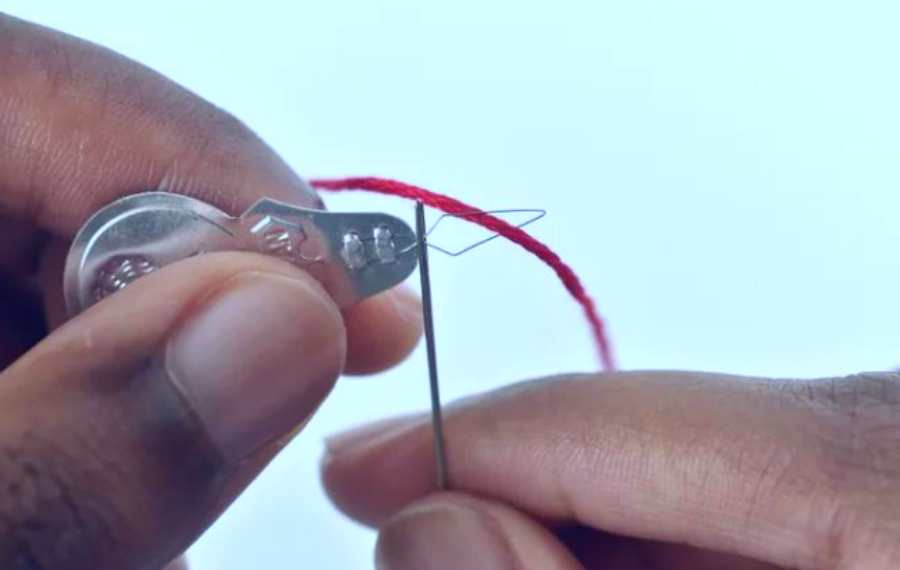
If you are using thicker embroidery thread, such as Perle cotton or all the strands of stranded cotton, take extra care not to tug and pull the wire loop off of a basic needle threader.
FAQs
What Are The Different Threads Used In Embroidery?
While embroidery uses different types of threads, polyester is the most common type because it is strong and can withstand constant use.
Another popular thread option is cotton since it is softer; however, many people also prefer silk because it gives a luxurious look even though it can be difficult to work with at times. The best type of thread to use depends on your project and what you are looking for in terms of comfort or style.
How Do You Secure An Embroidery Thread?
Before beginning to embroider, there are a few things you can do to prevent the thread from slipping. One way is to knot the thread around the fabric.
Another method is using a needle with a built-in stopper. You could also purchase special embroidery needles that have blunt tips. Or finally, use a locking stitch to secure the thread in place
What Are The Different Embroidery Needles?
Embroidery needles come in various types, each one suitable for a different task. The round-eye needle is the most popular since it works well with general embroidery.
Meanwhile, the sharp-point needle is excellent for when you need to be precise, and the blunt-point needle handles thick fabrics nicely.
How To Choose From The Different Embroidery Needles?
The type of fabric you’re embroidering will determine the needle you use. A delicate fabric requires a sharp needle to avoid tearing, whereas a thicker one needs a duller needle so it doesn’t get punctured.
The type of thread you use is just as important as the needle size. A smaller, thinner thread will require a smaller needle while a thicker, coarser thread needs a larger one.
It is important to choose an embroidery needle that is the right size for your project. If you are working on a small project, such as a shirt or scarf, you will need to use a smaller needle. Conversely, if you are working on a large quilt or tapestry, you will need to use a larger needle.
28 Comments