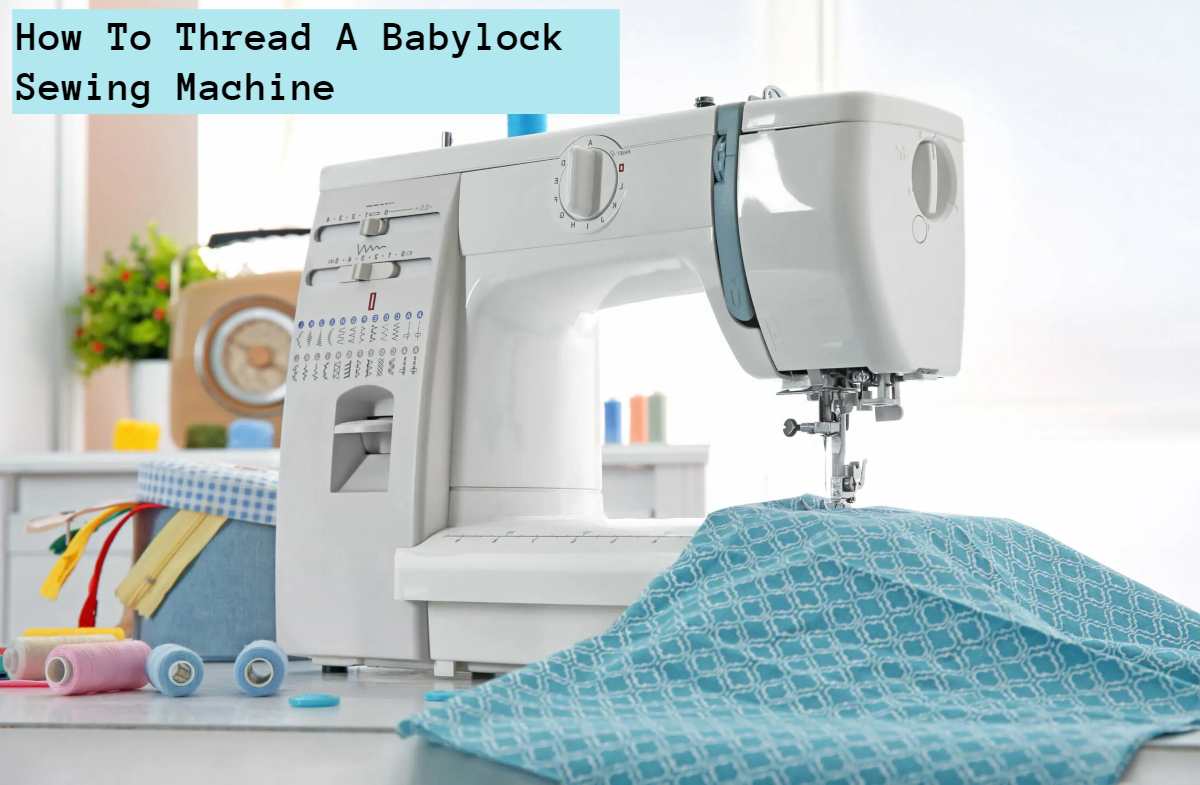
How To Thread A Babylock Sewing Machine: 2024 Complete Guide
Do you have a Babylock sewing machine and don’t know how to thread it? This can be a very frustrating experience, especially if you need to sew something quickly.
In this article, we will walk you through the process of threading your Babylock sewing machine. It is very simple, and once you know how to do it, you will be able to do it quickly and easily every time!
How To Thread A Babylock Sewing Machine
First, you’ll need to collect all of the materials that’ll require. This includes:
- The spool of thread on which you wish to work
- A pair of scissors
- A seam ripper (optional)
Next, you will need to locate the tension knob on your sewing machine. It is usually located near the top of the machine, and it is used to control the tension of the thread.
Make sure that this knob is turned to the left before beginning to thread your machine.
Now, take your spool of thread and place it on the holder at the top of your machine.
There are usually two different types of holders one for large spools and one for small spools. If you are using a large spool, you will need to place it on the larger holder. If you are using a small spool, you can place it on either holder.
Once the spool is in place, you will need to thread the end of the thread through the hole in the top of the spool.
Then, wrap the thread around the tension disc (it should be located just below the tension knob) a few times.
Once you have done this, insert the end of the thread into one of the holes on your take-up lever (this is located near the needle).
Now, pull on both ends of the thread until there are about 18 inches of thread hanging down from your machine.
This will give you enough thread to work with when you start sewing.
Now, take your scissors and cut the thread at the base of the spool. Be careful not to cut the actual thread that is coming from your machine you only want to cut the tail end.
Finally, turn on your machine and begin sewing! You may need to adjust the tension knob while you are sewing to get the best results.
But don’t worry once you get a feel for it, you will be able to do it quickly and easily. Thanks for reading and happy sewing!
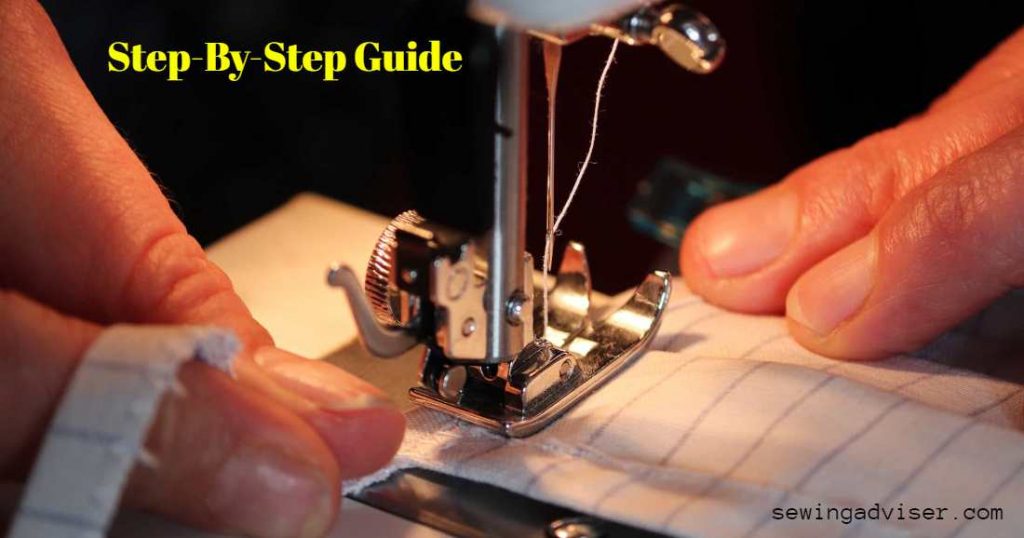
Step By Step Guide To Thread A Babylock Sewing Machine
- On the front of the machine, look for the threading diagram.
- Place the spool of thread on top of the spool pin, which is near the top. The thread should wind in one direction around the whole spool.
- Make a knot at both ends of the thread, then put it through the needle.
- To open the bobbin compartment, unscrew it and place it so that you can see the eye of it.
- If you’re standing behind it, look down at the top of the spool and press your eye against it. Look 90 degrees down into it to observe an empty bobbin and threading from left to right if you’re viewing it from the rear. Attach the thread to the needle hole first, and then pull it under the tension spring. Next, wrap it around the post before going over the tension spring again. Finally, bring it back through the eye of the needle hole so that both ends of the thread are attached to the bobbin.
- Reverse the order of your machine and use both threads to return them through the needle hole back to the eye. The “hook” of the tension spring should be a grooved wheel with teeth. The hook helps the thread go around and around the post before it goes back to the needle eye.
- To remove tangles, grab both ends of the thread and move the hook back and forth through the loop until it runs smoothly.
- Ease pressure on the foot pedal to remove tension from the springs, then grab one end of the thread in each hand and pull lightly. As you do this, the hook will spin and start stitching your fabric.
- Use one hand to hold the thread tight as it passes through the hook while continuing to manually turn the hook with your other hand. If you have small hands and this is difficult, use a clothespin or binder clip as an extra set of “hands” to help keep everything in place.
- After you loop the thread through the hook, use your hands to pull apart the tension springs until there is no pressure. You can operate the machine by pushing it with your hands or using the pedal.
- To begin, thread the attached piece into both needle holes. Once done, knot each end or simply leave one end knotted.
- Before removing the spool pin housing, be sure to turn off the machine.
- Thread one end of the thread into each hand, then pull until both ends emerge from the needle hole in the spool within the housing.
- Remove the grip on a thread by pulling your hands apart, then cut off about 6 inches (15cm) from both ends.
- To finish, tie both ends together with a knot. Tie one end and the other, or leave them knotted on one end and knot on the other. When you’re done tightening the knots, snip any leftover thread away. You might also be interested to learn how to fix your baby lock machine if it’s having problems.
Why Does My Thread Keep Breaking When Using My Babylock Sewing Machine?
There are several reasons why your thread may be breaking.
- First, make sure you are using the correct type of thread for the fabric you are sewing.
- Second, check that the thread is properly threaded through the guides and tension disks.
- Third, make sure the needle is the correct size for the thread and fabric you are using.
- Finally, check that the machine is properly adjusted for the thickness of the fabric.
How do I Adjust the Tension on my Babylock Sewing Machine?
To adjust the tension on your Babylock sewing machine, start by turning the tension dial to the recommended setting for your fabric and thread.
If the stitches are too tight, loosen the tension by turning the dial counterclockwise.
If the stitches are too loose, tighten the tension by turning the dial clockwise.
Make small adjustments and test the stitches on a scrap piece of fabric until you achieve the desired results.
Start Sewing!
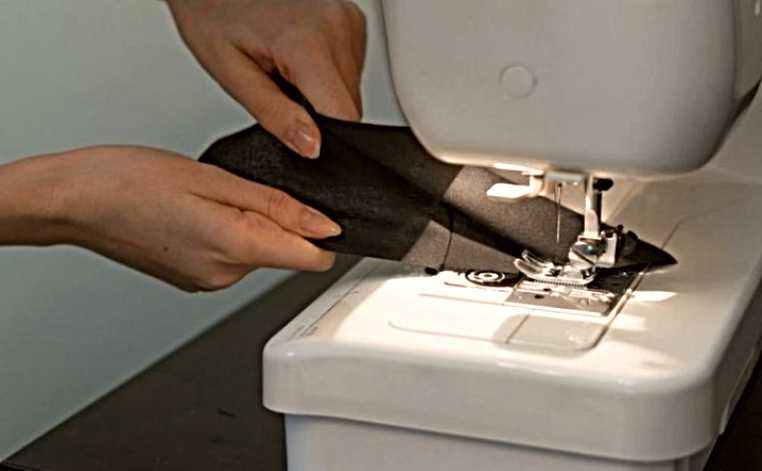
Now that your machine is threaded, it’s time to start sewing! Follow these steps to start sewing on your Babylock machine.
1. Raise the presser foot lever. This will raise the presser foot and allow you to place your fabric underneath it.
2. Place your fabric under the presser foot so that the needle will sew through both layers of fabric.
3. Lower the presser foot lever to lower the presser foot and secure the fabric in place.
4. Turn the handwheel towards you to raise the needle. The needle should be all the way up before you start sewing.
5. Press the Foot Pedal To Start Sewing! As you sew, keep your hands close to the fabric in case you need to make any adjustments.
FAQ’S
How do I thread my Babylock sewing machine?
To thread your Babylock sewing machine, you will need to follow a specific threading path. Start by raising the presser foot and turning off the machine. Then, follow the threading path illustrated in your machine’s manual, making sure to pass the thread through each guide and tension disk in the correct order.
What type of thread should I use with my Babylock sewing machine?
The type of thread you should use will depend on the fabric you are sewing. For general sewing, a polyester or cotton-wrapped polyester thread is recommended. However, if you are working with delicate or lightweight fabrics, a finer thread may be necessary.


20 Comments