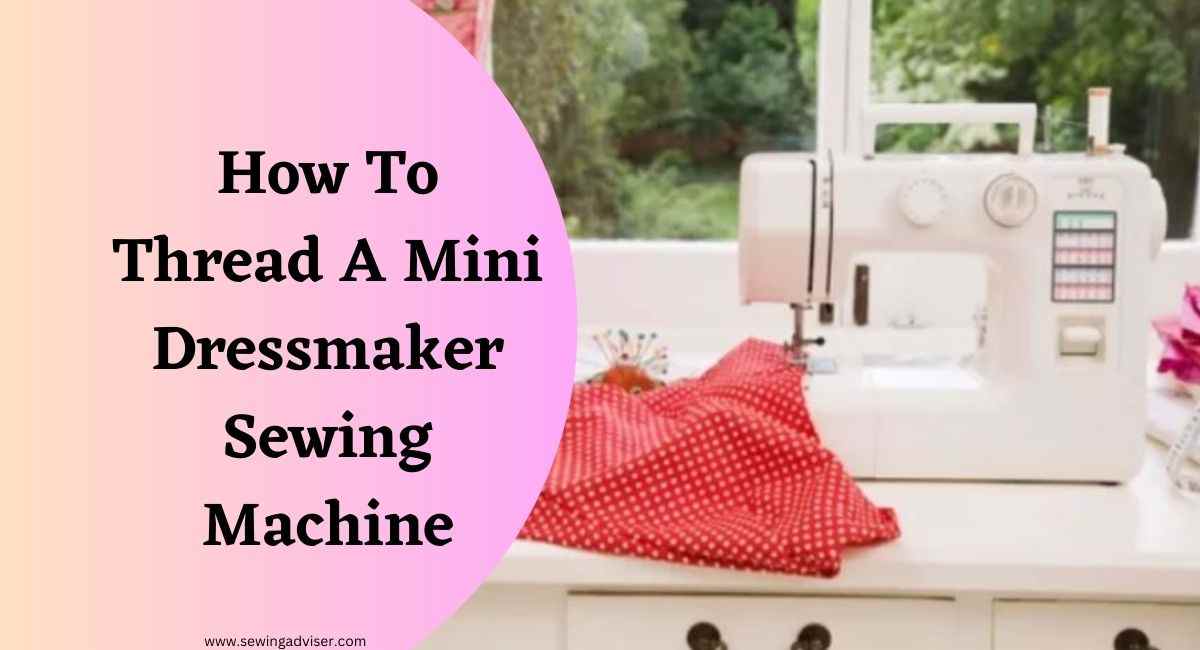
How To Thread A Mini Dressmaker Sewing Machine: 2024 Hacks
Welcome to the ultimate guide on how to thread a mini dressmaker sewing machine!
Whether you’re a beginner or an experienced sewist, mastering the art of threading your machine is essential for achieving perfect stitches and creating beautiful garments.
In this comprehensive guide, we’ll take you step by step through the process of threading your mini dressmaker sewing machine like a pro.
From understanding the parts of your machine to troubleshooting common issues, we’ve got everything covered so that you can start sewing with confidence in no time!
So let’s dive right into it and get ready to unleash your inner fashion designer with our 2023 complete guide.
What is a Mini Dressmaker Sewing Machine?
A mini dressmaker sewing machine is a compact and portable version of the standard sewing machine.
It is designed to be lightweight and easy to carry, making it perfect for small projects or travel.
Despite its smaller size, the mini dressmaker sewing machine can still perform all of the basic functions that a regular sewing machine can do.
It has options for straight stitches, zigzag stitches, and even some decorative stitches depending on the model.
One advantage of using a mini dressmaker sewing machine is that it takes up less space in your home or work area.
You don’t need a large table or workspace to set it up like you would with a traditional sewing machine.
Another benefit is its simplicity. The controls are straightforward and easy to understand, making it an excellent choice for beginners learning how to sew.
If you’re looking for an affordable option that doesn’t sacrifice quality or functionality while being transportable and user-friendly at the same time then look no further than the mini dressmaker sewing machines!
How to Thread a Mini Dressmaker Sewing Machine

Threading a mini dressmaker sewing machine can seem daunting at first, but with some practice and patience, it can become an easy task.
The first step is to make sure the machine is turned off and unplugged.
Next, locate the spool pin on top of the machine and place your thread spool onto it.
Take the end of your thread and guide it from the spool through any guides or hooks on the machine until you reach the tension disks.
Once you’ve reached the tension disks, follow any threading diagrams or instructions provided by your specific mini dressmaker sewing machine model to correctly position your thread between them.
After this step, guide your thread through any remaining guides or hooks until you reach the needle.
Insert your thread through the eye of the needle from front to back. You may find using a needle threader helpful in this process if available for your model.
With these steps completed successfully, you’re ready to start sewing!
Remember that each sewing project may require different adjustments to tension settings or stitch length/width so be patient with yourself as you learn how best to use your mini dressmaker sewing machine.
How to Set up the Mini Dressmaker Sewing Machine
Setting up a mini dressmaker sewing machine is an important step before you start sewing. Here’s how to do it:
First, unpack the machine and make sure all the parts are included in the package. Then, place the machine on a flat surface and plug it into a power source.
Next, attach the foot pedal to the machine by plugging it into its designated port. The pedal controls your speed while sewing, so make sure it’s within easy reach.
Now take out your thread spool and slide it onto the spool holder on top of the machine. Make sure that it turns freely as you sew.
After that, pull out enough thread from your spool and run it through each threading point according to your manufacturer’s instructions.
This may vary depending on which model of mini dressmaker sewing machine you have.
Once threaded properly, insert a needle into your needle clamp and tighten securely with a screwdriver if needed.
Wind some bobbin thread onto an empty bobbin using your thread guide or manual for instructions specific to your model.
Insert this bobbin into its holder below or beside where you placed your spool of thread.
With these steps completed properly, you’re now ready to use your mini dressmaker sewing machine!
How to Use the Mini Dressmaker Sewing Machine
Using the mini dressmaker sewing machine is a simple process that even beginners can master.
First, choose the correct needle and thread for your project. Then, place your fabric under the presser foot and lower it with the lever. Use the handwheel to raise or lower the needle as needed.
Next, turn on the machine and begin sewing by pressing down on the pedal control.
Make sure to guide your fabric with both hands to ensure straight stitches. You can adjust stitch length and width using dials on the machine.
To sew curves or corners, slow down your stitching speed and pivot your fabric while keeping it aligned with the presser foot.
If you need to backstitch at any point, simply push down on a reverse button before continuing forward.
Once you’ve finished sewing, lift up on both ends of the thread above your fabric before cutting them loose from their spools or bobbins below.
Now you have successfully used your mini dressmaker sewing machine!
Tips for Using the Mini Dressmaker Sewing Machine
Here are some useful tips for using your mini dressmaker sewing machine to ensure that you get the best results:
- Always start with a clean workspace: Before beginning any project, make sure that your work area is clean and free of any dust or debris. This will help to prevent any damage to your machine or fabric.
- Use the right needle: Different fabrics require different types of needles. Make sure you use the correct needle size and type for each fabric to avoid damaging it.
- Adjust thread tension: Proper thread tension is crucial for successful stitching on any sewing machine, including mini dressmaker machines. Test your stitches on a scrap piece of fabric before starting your project to ensure proper tension.
- Take breaks often: Sewing can be tiring on both your eyes and hands, so take frequent breaks when needed to prevent eye strain or fatigue.
- Practice makes perfect: Don’t be discouraged if you do not produce perfect results initially practice makes perfect! Keep practicing until you become more comfortable with using the mini dressmaker sewing machine.
By following these simple tips, you can successfully use your mini dressmaker sewing machine and achieve excellent results with every project!
How to Clean the Mini Dressmaker Sewing Machine
Cleaning your mini dressmaker sewing machine is important to maintain its performance and longevity. Here are some tips on how to keep it clean:
First, unplug the machine and remove any thread or fabric pieces from the bobbin area. Use a soft brush or cloth to gently wipe away dust and debris.
Next, remove the needle plate and clean underneath it with a small brush or pipe cleaner. Be sure to remove any lint that may have accumulated in this area.
Using a clean cloth, wipe down all surfaces of the sewing machine, including the exterior and interior parts. You can use mild soap mixed with water for tougher stains.
Don’t forget to oil your machine periodically according to manufacturer instructions. This will help lubricate moving parts and prevent rusting.
Store your mini dressmaker sewing machine in a dry place when not in use. Cover it with a dust cover or cloth to protect it from dirt accumulation.
By following these simple cleaning steps regularly, you’ll ensure that your mini dressmaker sewing machine runs smoothly every time you need it!
Related Post: How to clean treadle sewing machine base
How to Change the Needle on a Dressmaker Mini Sewing Machine
To change the needle on your Dressmaker Mini Sewing Machine, follow these simple steps:
1. Turn off your sewing machine and unplug it.
2. Unscrew the needle clamp screw using a flathead screwdriver.
3. Remove the old needle by pulling it straight down and out of the clamp.
4. Insert a new needle into the clamp with the flat side facing away from you.
5. Push up on the needle until it stops against the top of the clamp.
6. Tighten the needle clamp screw securely.
Remember that changing needles regularly is important in maintaining good sewing quality and preventing damage to your fabric or machine.
Dressmaker Mini Sewing Machine Instructions
To begin with, it’s important to familiarize yourself with the dressmaker mini sewing machine manual before diving into any project.
The manual provides step-by-step instructions on how to operate your machine, including threading the needle and bobbin.
It’s also essential to ensure that your machine is properly plugged in and turned on before use.
One common issue that arises when using a dressmaker mini sewing machine is thread bunching or breaking.
To avoid this, make sure you are using the correct type of thread for your fabric and adjust the tension settings accordingly.
Additionally, cleaning out any lint buildup in the bobbin area can prevent the thread from getting caught or tangled.
Another helpful tip is to practice on scraps of fabric before starting a new project. This allows you to get comfortable with your machine’s speed and stitch options while also testing out different tension settings.
Don’t forget about proper maintenance for your dressmaker mini sewing machine! Regularly oiling moving parts and replacing needles as needed can prolong the life of your machine and ensure optimal performance for years to come.
How to Fix a Dressmaker Mini Sewing Machine
If you own a dressmaker mini sewing machine, it is inevitable that at some point, you may encounter an issue or two.
Luckily, most problems with these machines are simple to fix and can be done without the need for professional help. Here’s how:
Firstly, check if your machine is plugged in correctly and turned on. It may sound obvious but sometimes this can be the root of the problem.
Next, inspect the needle to ensure that it’s not bent or broken. A bent needle will cause issues with stitching and could damage your fabric.
Is your thread tangled? If so, remove any excess thread from around the spool holder and re-thread your machine carefully.
Another common issue is when there is debris or lint stuck in the bobbin case area which prevents smooth operation. To fix this problem simply remove all dust particles by cleaning out any dirt buildup using a small brush.
If none of these steps have helped solve your problem then it might be time to take a look at your manual or contact customer service for further assistance.
With patience and some troubleshooting skills under our belt, we’re confident you’ll soon get back to completing those projects!
Conclusion: How To Thread A Mini Dressmaker Sewing Machine
Congratulations! You have successfully learned how to thread and use a mini dressmaker sewing machine. With this skill, you can create beautiful garments and other projects with ease.
Remember to always set up your sewing machine properly before using it, including threading the needle correctly. Take your time when using the machine, especially if you are new to sewing.
It is also important to keep your mini dressmaker sewing machine clean and well-maintained for optimal performance.
Regularly oiling the machine and cleaning out any lint or debris will help ensure that it lasts for years to come.
Now that you know how to use a mini dressmaker sewing machine, don’t be afraid to experiment with different fabrics and designs.
With practice, you’ll soon be creating professional-looking garments that fit perfectly.
So go ahead, get creative, and enjoy this new skill!
FAQs: How To Thread A Mini Dressmaker Sewing Machine
Can I use any thread with a mini dressmaker sewing machine?
It is recommended to use the appropriate thread that matches your fabric. Using different threads can cause tension issues and potentially damage your machine.
How often should I clean my mini dressmaker sewing machine?
You should aim to clean your machine after each project or every few uses, especially if you are working with linty fabrics like fleece or flannel.
What kind of maintenance does a mini dressmaker sewing machine require?
Regular cleaning and oiling of the moving parts are crucial for maintaining the longevity of your mini dressmaker sewing machine. Refer to the manual for specific instructions on how to care for your particular model.


9 Comments