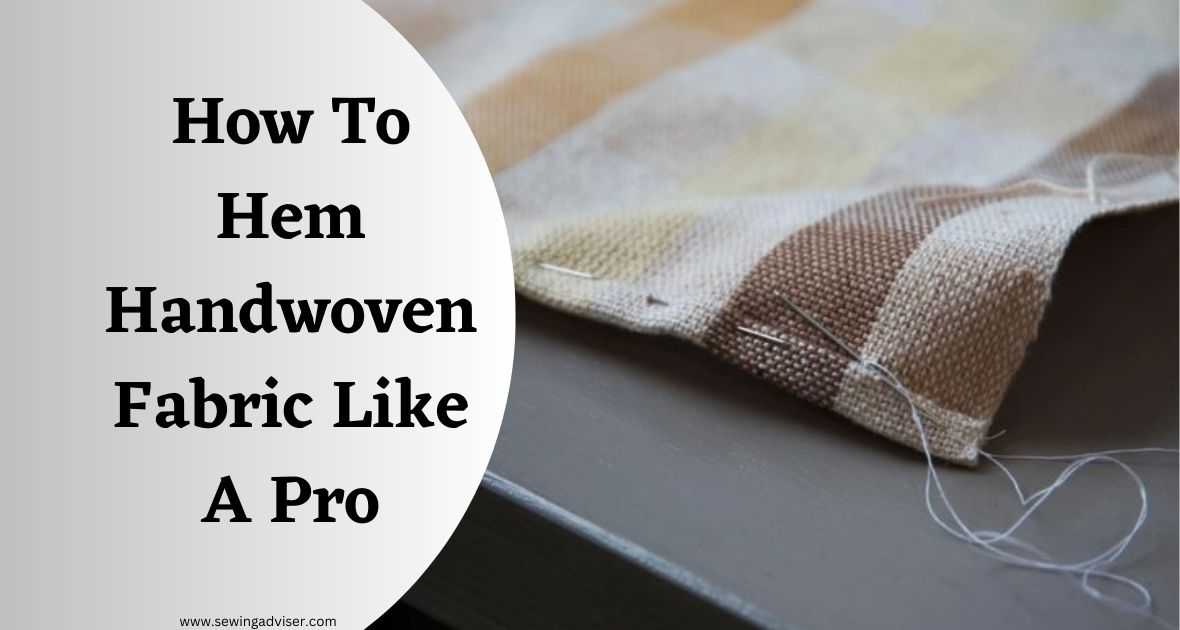
How To Hem Handwoven Fabric Like A Pro: 2024 Best Sew Hacks
Welcome to our comprehensive guide on how to hem handwoven fabric, where we will walk you through the step-by-step process of achieving beautifully finished edges for your unique textiles.
Whether you’re a seasoned weaver or just starting out, mastering the art of hemming handwoven fabric is an essential skill that adds a professional touch to your creations.
In this article, we will explore various techniques, tools, and tips to help you achieve clean and durable hems that will stand the test of time.
So, grab your favorite handwoven fabric, and let’s get started on this exciting journey!
How to Hem Handwoven Fabric
Now we will walk you through the process of hemming handwoven fabric, step by step.
Tools and Materials Needed
Before you begin hemming handwoven fabric, gather the necessary tools and materials to facilitate the process. Here are the essentials:
- Hand-sewing needles in various sizes
- Sewing machine (optional)
- Thread in a matching or complementary color
- Fabric scissors
- Iron and ironing board
- Pins or clips
- Measuring tape or ruler
Having these items readily available will make the hemming process smoother and more efficient.
Related Post: How Much Does It Cost To Hem
Step 2: Measure and Mark
Lay your handwoven fabric flat on a clean and smooth surface. Use a ruler or measuring tape to determine the desired hem length. Once you have the measurement, mark it with pins or fabric chalk, ensuring the marks are evenly spaced along the edge.
Step 3: Trim the Excess
If your handwoven fabric has uneven edges or excess fabric, trim it to achieve a straight line. Be cautious not to cut into the woven design. Use sharp scissors and follow the marked line, cutting off any excess fabric.
Step 4: Fold and Press
Fold the fabric along the marked line, creating a fold line for your hem. To ensure a crisp and clean edge, use an iron to press the fold. Take extra care not to damage the delicate fibers of the handwoven fabric by using a low to medium heat setting.
Step 5: Pin in Place
Once you have pressed the fold, secure it in place with pins. Place the pins perpendicular to the fold line, spacing them evenly along the edge. This will help keep the fabric in position during the sewing process.
Step 6: Choose Your Hemming Method
There are different techniques for hemming handwoven fabric, depending on the desired look and the fabric’s thickness. Here are two commonly used methods:
- Blind Hem: If you prefer an almost invisible hemline, consider using a blind hem stitch. Fold the hem up to the marked line, and then fold it again, encasing the raw edge. Stitch along the inner fold, catching only a few threads from the fabric’s front side.
- Topstitch Hem: For a more visible and decorative hem, a topstitch is a great option. Fold the fabric along the marked line, creating a double-fold hem. Stitch along the outer edge of the fold, securing it in place. This method works well with thicker handwoven fabrics.
Step 7: Sew the Hem
Using a sewing machine or a needle and thread, sew the hem in place. Follow the chosen hemming method from Step 6. If using a sewing machine, select a straight stitch or a blind hem stitch and adjust the stitch length according to the fabric’s thickness. Ensure that your stitches are even and consistent along the entire hemline.
Step 8: Finishing Touches
Once you have sewn the hem, remove the pins and give the hemline a final press with the iron. This step will ensure that the fabric lays flat and the stitches settle into the fabric. Take care not to press too hard, especially if your handwoven fabric is delicate or made from natural fibers.
2 Different Methods To Hem A Handwoven Fabric
There are various hemming techniques available for handwoven fabric. The choice depends on factors such as the fabric type, desired appearance, and personal preference. Here are two commonly used methods:
- Hand Hemming Method: This technique involves stitching the hem by hand using a needle and thread. It allows for more control and is suitable for delicate or intricate weaves.
- Machine Hemming Method: If you prefer a faster and more uniform finish, using a sewing machine for hemming can be a viable option. This technique is suitable for sturdier handwoven fabrics and larger projects.
Consider the characteristics of your fabric and the desired outcome before selecting the appropriate hemming technique.
How To Hem Handwoven Fabric by Hand
To hem handwoven fabric by hand, follow these steps:
- Thread a hand-sewing needle with a thread color that matches or complements the fabric.
- Fold the fabric along the marked hem allowance, aligning the raw edge with the fold.
- Secure the folded edge with small, discreet stitches along the length of the hem.
- Space the stitches evenly and make sure they do not penetrate the front surface of the fabric.
- Continue stitching until the entire hem is secured.
- To finish, create a small knot at the end of the stitching line and trim any excess thread.
How To Hem Handwoven Fabric by Sewing Machine
If you prefer using a sewing machine to hem handwoven fabric, follow these steps:
- Set up your sewing machine with a thread color that matches or complements the fabric.
- Fold the fabric along the marked hem allowance, aligning the raw edge with the fold.
- Place the fabric under the presser foot, starting from the edge.
- Select a straight stitch or a decorative stitch pattern on your sewing machine.
- Sew along the folded edge, maintaining an even distance from the edge throughout.
- Backstitch at the beginning and end of the hem to secure the stitches.
- Trim any excess thread.
Machine hemming provides a more uniform and efficient finish, ideal for larger handwoven fabric projects.
How Do You Hem Handwoven Fabric Quickly?
If you need to hem woven fabric quickly, there are a few techniques you can use to save time. Here are two quick methods to hem woven fabric:
1. Fusible Hem Tape:
- Measure and mark the desired length for your fabric.
- Place the fabric wrong side up on an ironing board.
- Cut a piece of fusible hem tape slightly shorter than the width of the fabric.
- Position the hem tape along the raw edge of the fabric, on the wrong side.
- Fold the fabric up along the marked hemline, sandwiching the hem tape between the folded fabric and the raw edge.
- Use a hot iron to press the folded fabric, applying heat to the hem tape. Follow the instructions provided with the hem tape for the recommended temperature and pressing time.
- Press firmly and evenly along the entire length of the hem to ensure a secure bond.
- Allow the fabric to cool and set before handling.
Fusible hem tape eliminates the need for sewing and provides a quick and easy way to create a temporary hem. Keep in mind that this method is best suited for lightweight to medium-weight fabrics.
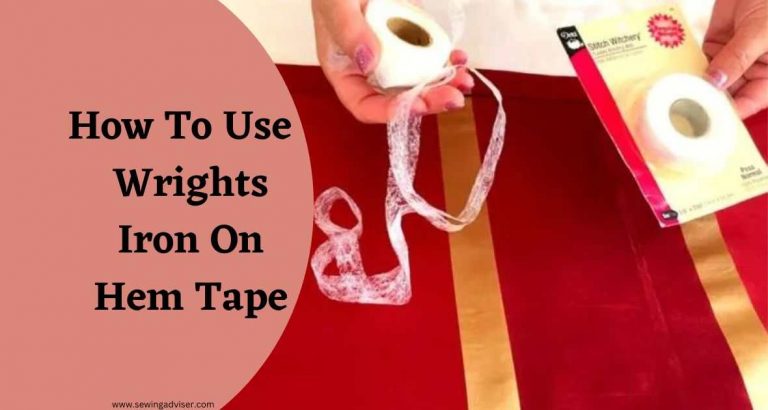
2. Stitch Witchery (Heat-Activated Adhesive):
- Measure and mark the desired length for your fabric.
- Cut a piece of Stitch Witchery slightly shorter than the width of the fabric.
- Position the Stitch Witchery along the raw edge of the fabric, on the wrong side.
- Fold the fabric up along the marked hemline, sandwiching the Stitch Witchery between the folded fabric and the raw edge.
- Use a hot iron (follow the instructions provided with the product) to press the folded fabric, applying heat to the Stitch Witchery. Hold the iron in place for the recommended time to activate the adhesive and bond the fabric layers together.
- Press firmly and evenly along the entire length of the hem.
- Allow the fabric to cool and set before handling.
Note:
Stitch Witchery provides a quick alternative to sewing and can be used on various fabric weights. However, it’s important to note that this method creates a temporary bond and may not be as durable as sewing.
Both of these methods allow you to hem woven fabric quickly without the need for extensive sewing.
However, keep in mind that they are temporary solutions and may not provide the same longevity or strength as traditional sewing techniques. For a more permanent and durable hem, sewing is recommended.
How Do You Finish Handwoven Fabric?
Finishing handwoven fabric involves a few steps to ensure the fabric is stable, presentable, and ready for use. Here’s a guide on how to finish handwoven fabric:
- Check for loose ends: Inspect the fabric for any loose threads or yarn tails. Use a tapestry needle or a small crochet hook to weave these loose ends back into the fabric, securing them to prevent unraveling.
- Washing: Handwoven fabric may contain natural oils, sizing, or dirt accumulated during the weaving process. It’s important to wash the fabric to remove these impurities and give it a clean, finished look. Follow the fabric’s fiber content guidelines for washing instructions. Typically, handwoven fabric can be gently hand washed in lukewarm water using a mild detergent. Rinse it thoroughly and gently squeeze out excess water. Avoid wringing or twisting the fabric to prevent distortion.
- Blocking: Blocking is a process that helps shape the fabric and even out the tension. Lay the washed fabric on a clean, flat surface, and gently reshape it to its desired dimensions. Smooth out any wrinkles or unevenness. You can use rust-proof T-pins or blocking wires to secure the fabric in place. Allow the fabric to dry completely in this stretched position.
- Pressing: Once the fabric is dry, it’s time to press it. Set your iron to the appropriate temperature for the fabric type (check the fiber content). Place a pressing cloth over the fabric to protect it from direct heat. Gently press the fabric using an up-and-down motion, avoiding dragging the iron across the fabric. This step helps to flatten the weave and gives it a more refined appearance.
- Finishing the edges: To prevent fraying and add a finished look to your handwoven fabric, you can choose from various edge-finishing techniques:
- Hand-sewn hem: Fold the fabric along the desired hemline and sew it using a small, even running stitch or a blind hem stitch. This technique provides a clean edge while maintaining the handmade aesthetic.
- Bias binding: Cut bias strips of fabric or use pre-made bias tape. Fold the bias tape over the raw edge of the fabric, encasing it, and sew along the folded edges.
- Rolled hem: For lightweight fabrics, you can create a rolled hem by hand or with a sewing machine. This technique rolls the raw edge inward, creating a narrow, neat hem.
- Fringe: If you prefer to showcase the raw edges, you can leave them as a fringe. Trim the ends evenly or comb out the yarn to create a fluffy fringe effect.
Choose the edge-finishing technique that best suits your fabric and desired aesthetic.
Best Tips for Hemming Handwoven Fabric
Consider the following tips to enhance your hemming process for handwoven fabric:
- Test the hemming technique on a small sample of the fabric before proceeding with the actual project.
- Choose a thread color that complements the fabric and allows the hem to blend seamlessly.
- Take breaks during the hemming process to maintain focus and avoid fatigue, ensuring better accuracy.
- Use high-quality sewing needles suitable for the fabric type to prevent snagging or damaging the weave.
- Experiment with different hemming techniques to achieve unique effects, such as decorative stitches or hand-embroidered details.
Hemming Handwoven Fabrics: Troubleshooting Common Issues
While hemming handwoven fabric, you may encounter a few common issues. Here are some troubleshooting tips:
- Fabric puckering: Ensure the fabric is evenly distributed while stitching and adjust the tension on your sewing machine if needed.
- Uneven stitches: Practice consistent stitch length and maintain an even seam allowance.
- Fabric slippage: Use pins or clips to secure the fabric layers together before stitching to prevent shifting.
- Frayed edges: If the fabric edges fray excessively, consider using a narrow zigzag stitch or applying fabric glue to secure them.
Conclusion
In conclusion, learning how to hem handwoven fabric is a rewarding skill that allows you to preserve the beauty and integrity of these unique textiles. By following the step-by-step guide provided, you can confidently tackle the hemming process with ease.
Remember to choose the right needle and thread, practice patience, and employ techniques tailored to handwoven fabrics. By embracing this timeless craft, you can ensure that your handwoven treasures last for generations to come.
So go ahead, pick up your needle, and create beautifully finished pieces that showcase the artistry of handweaving.
FAQs: How To Hem Handwoven Fabric
Can I use the same hemming techniques for all types of handwoven fabric?
While some hemming techniques can be applied to various handwoven fabrics, it is essential to consider the fabric’s specific characteristics and choose the technique accordingly. Delicate fabrics may require hand hemming for better control, while sturdier fabrics can be machine hemmed for efficiency.
Can I use a serger to finish the edges before hemming the handwoven fabric?
Yes, a serger can be used to finish the fabric edges before hemming, especially if the fabric tends to fray. Serging creates a clean and secure edge, reducing the chances of fraying and improving the overall durability of the fabric.
How can I prevent the fabric from puckering while machine hemming?
To prevent fabric puckering, ensure that the tension on your sewing machine is adjusted correctly. Additionally, avoid pulling or pushing the fabric forcefully while stitching, and make sure it is distributed evenly under the presser foot.
Can I add decorative elements to the hem of the handwoven fabric?
Absolutely! Adding decorative elements such as contrasting stitching, lace trim, or hand-embroidered details can enhance the aesthetics of the hem. Experiment with different techniques and embellishments to personalize your handwoven fabric projects.


6 Comments