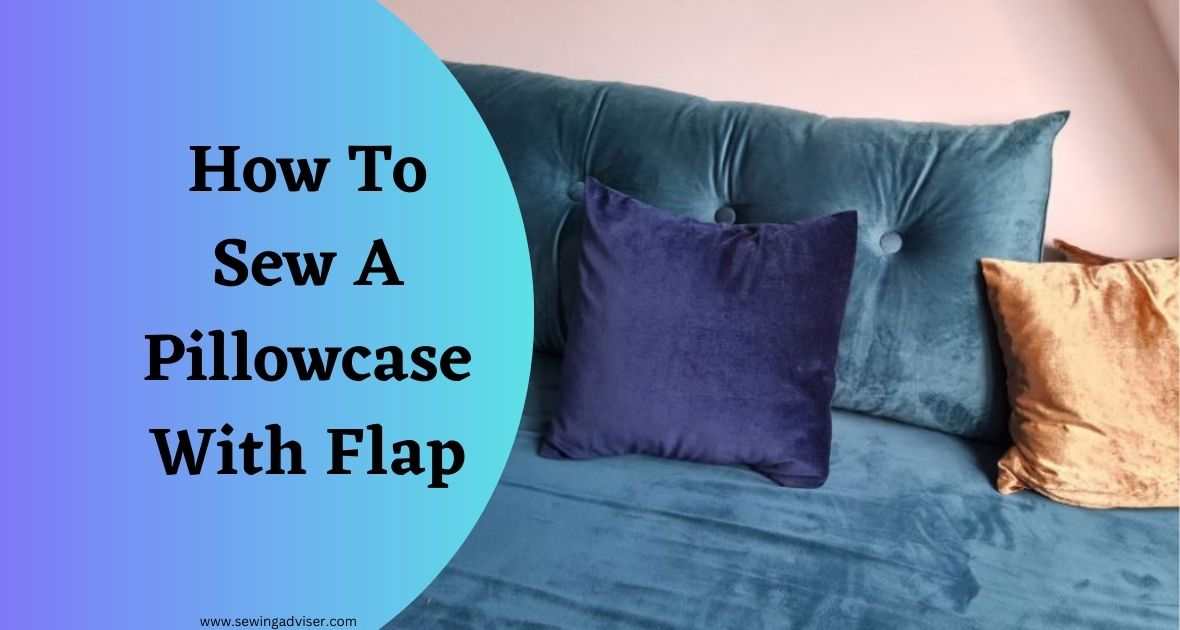
How To Sew A Pillowcase With Flap: 2024 Step-by-Step Guide!
Are you interested in learning how to sew a pillowcase with flap?
Look no further! In this detailed guide, we will take you through the step-by-step process of creating a beautiful pillowcase with a flap.
Whether you’re a beginner or an experienced seamstress, this article will provide you with all the information you need to successfully complete this sewing project.
So, let’s dive in!
How To Sew A Pillowcase With Flap
Materials Needed
Before we start sewing, let’s gather all the necessary materials. You will need:
- Fabric for the pillowcase (cotton or linen works well)
- Matching thread
- Scissors
- Ruler or measuring tape
- Pins
- Sewing machine
- Iron and ironing board
- Optional: Decorative elements like lace or ribbon
Taking Measurements
The first step in sewing a pillowcase with a flap is to take accurate measurements. Measure the dimensions of the pillow you will be covering, including the length, width, and depth. Add a seam allowance of about 1 inch to each measurement to ensure a proper fit.
Cutting the Fabric
Once you have your measurements, it’s time to cut the fabric. Lay the fabric flat on a cutting surface and use your ruler or measuring tape to mark the dimensions of the pillowcase. Cut two identical rectangles for the main body of the pillowcase and one smaller rectangle for the flap.
Sewing the Flap
Take the smaller rectangle of fabric that will be the flap and fold it in half lengthwise with the right sides facing each other. Pin the long raw edges together and sew along the pinned edge using a ½ inch seam allowance. Turn the flap right side out and press it flat with an iron.
Sewing the Side Seams
Next, we will sew the side seams of the pillowcase. Place the two main body rectangles of fabric on top of each other with the right sides facing each other. Pin the side edges together and sew along the pinned edges using a ½ inch seam allowance. Remember to backstitch at the beginning and end of each seam to secure the stitches.
Hemming the Edges
To create a neat finish for the pillowcase, we will hem the edges. Fold the raw edges of the open end of the pillowcase towards the wrong side of the fabric by ½ inch and press with an iron. Then, fold the same edge over by another ½ inch to encase the raw edge and press again. Pin the folded edge in place and sew along the inner edge to secure the hem.
Attaching the Flap to the Pillowcase
Now it’s time to attach the flap to the pillowcase. Align the raw edges of the flap with the top edge of the pillowcase, making sure the right sides are facing each other. Pin the flap in place and sew along the pinned edge using a ½ inch seam allowance. This will attach the flap to the pillowcase while leaving the bottom edge of the flap open.
Adding Decorative Touches
If you want to add some decorative touches to your pillowcase, now is the time to get creative! Consider adding lace trim, ribbon, or embroidery to enhance the overall look of your project. Sew any decorative elements onto the pillowcase before proceeding to the next step.
Pressing and Finishing
Before we finish sewing the pillowcase, take a moment to press all the seams and edges with an iron. This will give your pillowcase a polished look and help set the stitches. Once everything is pressed, turn the pillowcase right side out and give it a final press for a crisp finish.
How to Choose the Right Fabric for Your Pillowcase
Choosing the right fabric for your pillowcase is important for both comfort and durability. Here are some factors to consider when selecting the fabric:
- Comfort: Look for fabrics that feel soft and smooth against your skin. Cotton, silk, satin, and bamboo are popular choices known for their comfort.
- Breathability: Opt for breathable fabrics that allow air circulation, keeping you cool and preventing excessive sweating. Natural fibers like cotton and bamboo are breathable options.
- Allergies: If you have allergies or sensitivities, consider hypoallergenic fabrics such as organic cotton, which are less likely to irritate your skin or trigger allergies.
- Durability: Choose fabrics that are durable and can withstand frequent washing. Cotton blends, polyester, and microfiber are known for their durability and resistance to wear and tear.
- Maintenance: Consider the maintenance requirements of the fabric. Some fabrics may require special care, such as dry cleaning or delicate machine washing, while others can be easily machine washed and dried. Choose a fabric that aligns with your preferred maintenance routine.
- Temperature regulation: If you tend to sleep hot or cold, select a fabric that helps regulate temperature. Natural fibers like cotton and bamboo are breathable and can help with temperature control.
- Personal preference: Ultimately, choose a fabric that aligns with your personal preferences. Consider factors such as texture, sheen, and aesthetics to find a fabric that you find visually appealing and enjoyable to touch.
How to Make a Pillowcase with an Inner Flap
To make a pillowcase with an inner flap, you can follow these steps:
Gather your Materials
- Fabric for the pillowcase (cut to the desired measurements)
- Coordinating thread
- Sewing machine
- Pins or clips
- Scissors or rotary cutter
- Iron and ironing board
Preparing the Fabric
If needed, prewash and iron the fabric to avoid any shrinkage later.
Cut the fabric to the desired dimensions for the pillowcase. Standard pillowcases are typically around 20 inches by 30 inches (50.8 cm by 76.2 cm).
Creating the Inner Flap
Take one of the shorter edges of the fabric and fold it over by approximately 6-8 inches (15-20 cm) towards the wrong side of the fabric. This will create the inner flap.
Press the fold with an iron to make it crisp and hold the shape.
Pin or clip the folded edge to secure it in place temporarily.
Sewing the Pillowcase
With the right sides of the fabric facing each other, fold the fabric in half widthwise, aligning the edges.
Pin or clip the side edges together, ensuring the inner flap is folded inside and secured out of the way for now.
Starting from the top or bottom edge, sew a straight stitch along the pinned or clipped side edges, leaving a 0.5-inch (1.27 cm) seam allowance. Backstitch at the beginning and end to secure the stitches.
Remove the pins or clips and turn the pillowcase right side.
Finishing the Inner Flap
Take the inner flap and fold it over the pillowcase, aligning it with the sewn edge.
The inner flap should be tucked inside the pillowcase, covering the end where the opening is.
You can press the flap with an iron to make it lie flat.
Final Touches
Give the pillowcase a final press with an iron to smooth out any wrinkles and create a polished look.
Insert your pillow into the pillowcase through the inner flap opening, and tuck the inner flap inside to secure the pillow.
And there you have it! You’ve made a pillowcase with an inner flap. Enjoy your new pillowcase!
What are the Common Problems While Making A Pillowcase
While making a pillowcase, there can be several common problems that people may encounter. Here are a few of them:
- Incorrect measurements: If the measurements for the pillowcase are inaccurate, it can lead to a poor fit or a pillowcase that is either too loose or too tight for the pillow. It is essential to measure the pillow correctly to ensure a proper fit.
- Uneven seams: Uneven or crooked seams can affect the overall appearance and functionality of the pillowcase. It is crucial to sew straight and even seams to ensure that the pillowcase looks neat and is durable.
- Fabric slipping: Some fabrics can be slippery or challenging to handle, causing them to shift or slide while sewing. This can result in uneven stitching or misaligned patterns. Using pins or fabric clips can help secure the fabric in place during the sewing process.
- Mismatched patterns: If the fabric has a pattern, it is essential to align the pattern correctly when cutting and sewing the pillowcase. Failing to do so can result in a visually unappealing pillowcase with mismatched patterns.
- Insufficient seam allowance: Inadequate seam allowance can lead to weak seams that may unravel or come apart easily. It is advisable to use an appropriate seam allowance and reinforce critical areas such as corners and edges to ensure durability.
- Thread tension issues: Incorrect thread tension can cause problems while sewing, such as loose or tight stitches. It is crucial to adjust the thread tension on the sewing machine appropriately to achieve balanced and consistent stitches.
- Inaccurate cutting: Careless or inaccurate cutting can result in uneven edges or pieces that do not fit together correctly. Using sharp fabric scissors and taking the time to cut accurately can help avoid this problem.
- Poor finishing: The finishing touches, such as neatly trimmed threads, pressed seams, and properly closed openings, are essential for a professional-looking pillowcase. Rushing through these final steps can lead to a sloppy and unfinished appearance.
What Are The Measurements For A Standard Pillowcase?
A standard pillowcase typically has the following measurements:
- Width: 20 inches (50.8 centimeters)
- Length: 30 inches (76.2 centimeters)
These measurements are commonly used for standard-sized pillows, and pillowcases designed for these pillows are readily available in most bedding and home goods stores.
It’s important to note that pillowcase sizes may vary slightly depending on the manufacturer or country, so it’s always a good idea to check the specific measurements before making a purchase.
How much fabric do I need for one pillowcase?
The amount of fabric you need for one pillowcase depends on the size of the pillowcase and the width of the fabric you’re using.
For a standard-sized pillowcase, you typically need a piece of fabric that is:
Width: Twice the width of the pillowcase (plus seam allowance) Length: The length of the pillowcase (plus seam allowance)
To calculate the exact fabric requirement, you can follow these steps:
- Measure the width and length of the pillowcase you want to make. Let’s assume the measurements are as follows: Width: 20 inches (50.8 centimeters) Length: 30 inches (76.2 centimeters)
- Determine the width of the fabric you plan to use. Fabric widths can vary, but common measurements are 44 inches (111.8 centimeters) or 54 inches (137.2 centimeters).
- Calculate the fabric requirement:
- For fabric width of 44 inches (111.8 centimeters): Width: 20 inches (50.8 centimeters) x 2 = 40 inches (101.6 centimeters) Length: 30 inches (76.2 centimeters)
- For fabric width of 54 inches (137.2 centimeters): Width: 20 inches (50.8 centimeters) x 2 = 40 inches (101.6 centimeters) Length: 30 inches (76.2 centimeters)
- Add seam allowances to the fabric requirement. Typically, a 0.5-inch (1.27 centimeters) seam allowance is used on each side. Width: 40 inches (101.6 centimeters) + (0.5 inch x 2) = 41 inches (104.1 centimeters) Length: 30 inches (76.2 centimeters) + (0.5 inch x 2) = 31 inches (78.7 centimeters)
Therefore, for a standard-sized pillowcase, you would need a piece of fabric that measures approximately 41 inches (104.1 centimeters) in width and 31 inches (78.7 centimeters) in length.
What stitch is the best for a pillowcase?
When sewing a pillowcase, there are several stitching options you can consider. The choice of stitch depends on personal preference, the type of fabric you’re using, and the sewing machine you have. Here are a few common stitches that work well for pillowcases:
- Straight Stitch: The straight stitch is the most basic and commonly used stitch. It creates a straight line of stitches and is suitable for most pillowcase seams. Ensure you backstitch at the beginning and end of the seams for added strength.
- Zigzag Stitch: The zigzag stitch is ideal for finishing raw fabric edges to prevent fraying. You can use a narrow or wide zigzag stitch depending on your preference. This stitch is particularly useful when working with woven fabrics that tend to fray.
- French Seam: A French seam is a more advanced stitch that encloses the raw edges within the seam itself, resulting in a clean finish. It is a great option when sewing with delicate fabrics or when you want a polished look without visible raw edges.
- Serger Stitch: If you have a serger machine, you can use a serger stitch to sew and finish the seams simultaneously. A serger creates a neat and professional edge by trimming and encasing the raw edges of the fabric.
Ultimately, the choice of stitch depends on your skill level, the fabric you’re using, and the desired finish. It’s a good idea to experiment on scrap fabric first to determine which stitch works best for your specific pillowcase project.
What pillowcase measurements do stores use?
Stores typically offer pillowcases in various sizes to accommodate different pillow sizes and types. The most common pillowcase measurements you will find in stores are:
- Standard:
- Width: 20 inches (50.8 centimeters)
- Length: 30 inches (76.2 centimeters)
- Queen:
- Width: 20 inches (50.8 centimeters)
- Length: 32 inches (81.3 centimeters)
- King:
- Width: 20 inches (50.8 centimeters)
- Length: 36 inches (91.4 centimeters)
- Euro:
- Width: 26 inches (66 centimeters)
- Length: 26 inches (66 centimeters)
These are the most commonly available sizes, but it’s important to note that pillowcase sizes can vary slightly between brands and stores. Some stores may also offer additional sizes to accommodate specialty pillows or specific customer preferences.
It’s always a good idea to check the specific measurements provided by the store or manufacturer before purchasing pillowcases to ensure they will fit your pillows properly.
Conclusion: How To Sew A Pillowcase With Flap
In conclusion, learning how to sew a pillowcase with a flap is a rewarding and practical skill that can bring a personal touch to your home decor. By following the step-by-step instructions provided, you can effortlessly create a stylish and functional pillowcase.
Whether you’re a seasoned seamstress or a beginner, this project is accessible and enjoyable. So grab your fabric, thread, and sewing machine, and let your creativity shine as you embark on the journey of making a pillowcase with a flap. Start stitching today and experience the joy of crafting your very own pillowcase!
FAQs: How To Sew A Pillowcase With Flap
Can I use a different fabric for the flap?
Yes, you can use a different fabric for the flap to create a contrasting or complementary look. Just make sure that the fabric you choose is compatible with the main fabric in terms of weight and care instructions.
Do I need a sewing machine to sew a pillowcase with a flap?
While a sewing machine can make the process faster and more efficient, you can also sew a pillowcase with a flap by hand. It will require more time and patience, but the results can be just as beautiful.
How do I care for a pillowcase with a flap?
To ensure the longevity of your pillowcase, follow the care instructions for the fabric used. Generally, it is recommended to machine wash the pillowcase with mild detergent on a gentle cycle and tumble dry on low heat. Avoid using bleach or harsh chemicals that can damage the fabric.
Can I sell pillowcases made using this guide?
Yes, you can sell pillowcases made using this guide. However, it is important to credit the source of the guide or provide a link to this article when selling your handmade products.

5 Comments